Makasura Shrine in Zelda: Tears of the Kingdom tasks you with completing the vertical device puzzle.
You must use the Ascend and Ultrahand abilities, along with the Stabilizer Zonai device, to solve this puzzle, and like many of the Shrines in Zelda: Tears of the Kingdom, there is also a chest that you can find.
Below we cover the Makasura Shrine solution, so you can solve the Upright Device shrine and collect the chest hidden inside.
In this page:
To view this content, please enable targeting cookies. Manage cookie settings
10 Things We Wish We Knew Before Starting The Legend of Zelda Tears of the Kingdom Watch on YouTube
If you want to learn more about Link’s adventure, visit our Zelda: Tears of the Kingdom walkthrough.
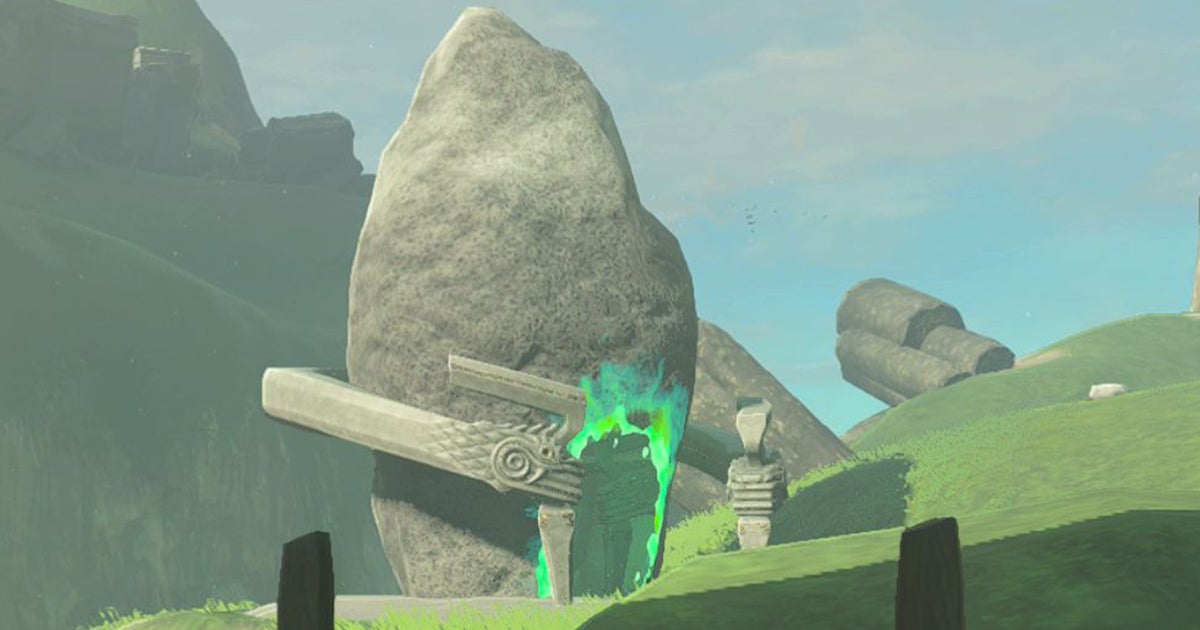
Location of Makasura Shrine in Zelda Tears of the Kingdom
The location of Makasura Shrine can be found inside Kakariko Village. Its precise coordinates are (1770, -1050, 0166).


The easiest way to get to this shrine is to use Ascend under the wooden platforms just south of the general store. You will have to do this four different times under four different wooden platforms until you reach the shrine.

Solution to the Makasura Shrine puzzle in Zelda Tears of the Kingdom
Your first task in solving the vertical device puzzle at the Makasura Shrine is to use Ascend on the platform directly in front of you, so you can reach the top level.

Makasura Shrine Puzzle Solution 1
Then, tap the stabilizer attached to the metal rack so that it is upright. We also recommend using the Ultrahand to move the metal grill, with the stabilizer attached, as close to the edge of the cornice as possible, as this will help you succeed in the next step.
This step involves using Ascend to get to the top of the metal grate, and from there, paragliding to the next section of the sanctuary.


Makasura Shrine Puzzle 2
First, you need to hit the stabilizer attached to the nearby metal grate. We recommend hitting the Stabilizer first, because it will make placing the metal grill easier.
Once it is standing, place the metal grate against the wall of bars separating you from the small ball. When the grate is in the right place, use Ascend underneath it and when you can, jump to the other side.


Now, on the other side of the bars, the first thing you’ll want to do is attach the stabilizer to the metal rack with the small basket. After connecting, we recommend testing to make sure the gimbal is connected exactly where you want it to be. Just remember to turn it off afterwards! You should also make sure the basket is facing the right direction.

When you’re ready, place the ball in the basket and then press the stabilizer to send the ball over the wall of bars. It’s a good idea to use an arrow when activating the Stablizier, so that Link doesn’t accidentally block the metal grate from staying upright.

Once this is done, use Ascend to get to the other side of the metal bars.
How to get the Makasura Shrine chest
However, before completing Makasura Shrine, take the time to open the chest hidden inside. Fortunately, it’s pretty easy to get.
To do this, while standing on the small platform on the wall with the metal bars, move the metal box with a small ledge, on top of these bars.

Pass the barrier…
Then, jump to this area and move the grate so that it is near the back wall of this small area. Now all you have to do is use Ascend, jump to the ledge, and open the chest, which contains a Fairy Tonic.


Just remember to move the metal grate piece back to the main section of this part of the shrine!

…and again again.
Makasura Shrine 3 Puzzle Solution
To finish the Makasura Shrine, you need to place the metal grate with the ledge near the gap between you and the end of the shrine. We recommend turning off the Stabilizer first, so that it does not accidentally fall into the void.

Next, use Ultrahand to move the metal grate that has a small basket towards the previous grate piece. Attack it to the edge of the metal grate edge similar to the following screenshot:

Join the two pieces of metal together like this.
Now jump into the basket yourself and from there hit the stabilizer with an arrow.

This will send you shooting through the void and you can use the Paraglier to ensure you reach the other side safely.
With that you have completed the Makasura Shrine! Visit our Shrine Locations guide if you want to earn more Light of Blessings, or if you’re in the mood for something different, check out our Zelda: Tears of the Kingdom walkthrough.
To view this content, please enable targeting cookies. Manage cookie settings
Categories: Guides
Source: ptivs2.edu.vn