The Zora armor in Zelda: Tears of the Kingdom is a very useful set for any time you want to take Link swimming.
It may not provide the highest level of defense in Zelda: Tears of the Kingdom, but it will increase Link’s swimming speed and the rudder will also allow him to perform a spin attack while in the water.
In this Zora Armor location guide, we detail where you can get the three parts of the Zora Armor set: the chest piece, the Zora helmu, and the Zora Greaves, as well as the requirements you’ll need in order to obtain them.
In this page:
To view this content, please enable targeting cookies. Manage cookie settings
10 Things We Wish We Knew Before Starting The Legend of Zelda Tears of the Kingdom Watch on YouTube
If you want to learn more about Link’s adventure, visit our Zelda: Tears of the Kingdom walkthrough.
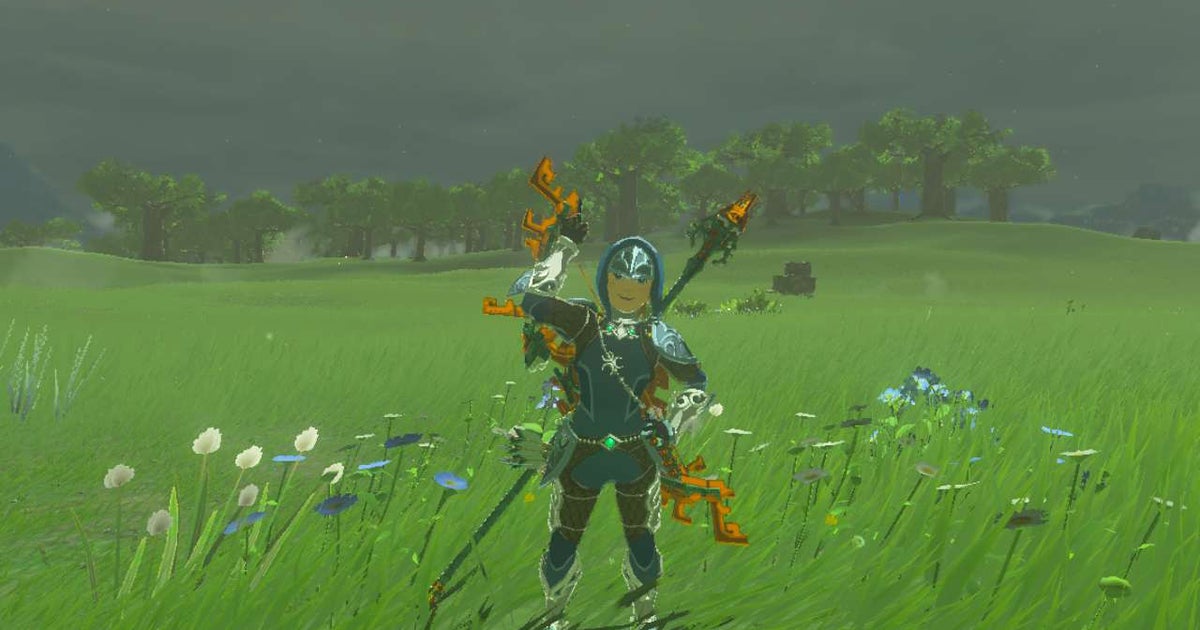
Zora Armor Set
Like most armor sets in Tears of the Kingdom, the Zora armor set is made up of three parts. For the Zora Set, each piece increases defense and swimming speed:
- Zora Armor: Base defense of three and increased swimming speed.
- Zora Helm: Base defense of three and increased swimming speed.
- Zora Greaves: Base defense of three and increased swim speed.
By equipping the entire set, Link will also have increased stamina when swimming.
You can then also upgrade the armor set at any of the Great Fairy Fountains. Fully upgraded, each piece of the Zora Set will have a defense of 20, but it will take a lot to get there. In total, nine Lizalfos horns, nine Hearty basses, nine blue Lizalfos tails, 15 Hyrule basses, 15 Lizalfos claws, 15 blue Lizalfos horns, 15 black Lizalfos horns, 15 blue Lizalfos tails, 60 opals, and 2280 rupees.
How to get the Zora Armor in Zelda Tears of the Kingdom
The Zora armor (i.e. the chest piece of this armor set) is the first one you’ll want to get in Zelda: Tears of the Kingdom. This armor allows Link to swim quickly over waterfalls, making it invaluable as you continue exploring Zora’s Domain. It’s also one you can easily find without completing the main questline in this area.
To begin, make sure you have started the Sidon of the Zora quest. Talk to Yona in the infirmary, which is one level above and behind the statue of Link and Sidon that will be revealed in the opening cutscene of this quest line.
Yona will offer you the armor, but will tell you that she needs an Ancient Arowana Fish to complete the repairs she’s been working on.

Image Credit: Nintendo
She will point you to the blacksmith Dento as someone who may know where to find an ancient arowana. It can be found just east of the general store and will take you to the top of Ploymus Mountain. There are other places to find an Ancient Arowana, but you’ll need to climb this mountain for the Sidon of the Zora main quest, so it’s best to start now.
An easy way to get to the top is to use the Upland Zorana Skyview Tower and slide down the gigantic, wide waterfall. From there, continue up the hill until you reach Mipha’s Court, where you will find Sidon if you are at that point in the main quest.

Image Credit: Nintendo
Continue past where Sidon is and go up the stairs to reach a statue of Mipha. There should be two ancient arowaks in the pond here. Use X to run and get close enough, then grab them with A.

Image Credit: Nintendo
An alternative is to return to Great Sky Island. Fast travel to Nachoyah Shrine, use Ascend, and then jump to the island to the east, where the mining cave exits. There are ancient arowana in the lake here, as well as a chest containing a large Zonai cargo.
Here’s where that is on the map. The coordinates are 0513, -1614, 1790.

Image Credit: Nintendo
Once you have an Ancient Arowana, return to Yona in the Zora’s Domain infirmary to obtain the Zora Armor. As long as you use it, you will be able to ascend waterfalls with ease. It also increases your swimming speed, like all the pieces in this armor set.
How to get the Zora Helm in Zelda Tears of the Kingdom
Technically, you can obtain the Zora Helm at any time, but the actual quest related to it, The Endless Conference, won’t be available until you’ve completed the Sidon of the Zora main quest.
If you want to do it the traditional way, after completing that quest, talk to Zoras Khira and Chroma to the left of the throne room. They’ll tell you that they were supposed to give Link the Zora Helmet, but that it’s “inside a celestial fish” and they don’t know what this means.

Image Credit: Nintendo
If you have completed the Sidon of the Zora main quest, you will probably understand this, as it refers to the Isle of Floating Scales, which is necessary to visit to complete that quest.
But even if you haven’t completed that quest, you can look for a fish-shaped sky island on your map. You will already need the Zora Armor to access this island; See above for instructions on how to find it.
The island can be reached from Mipha’s Court by climbing the waterfall that falls from the sky island to the east here.

Image Credit: Nintendo
Once you reach land, run towards the tail of the fish-shaped island and then turn to face the head. Look down on the right side to see an opening in the side of the fish island. Glide to it using the paraglider.

Image Credit: Nintendo
Open the chest here to receive the Zora Helm. This has three points of armor, but will also increase Link’s swimming speed and allow him to perform spin attacks in the water.

Image Credit: Nintendo
How to get Zora’s greaves in Zelda Tears of the Kingdom
To get Zora Greaves, you will first need to complete the Sidon of the Zora main quest.
After the scene with Sidon at the end of this quest, exit the throne room and return to the main Zora Kingdom area to find Yona. Talking to her will start the quest A Sign of Friendship and she will tell you that she wants to give you Zora’s Greaves but she couldn’t find them.

Image Credit: Nintendo
She will say that they are somewhere inside Zora’s old waterworks. Luckily, unlike Yona, you have this guide to tell you exactly where!
Head to the Waterworks, which you will have visited during the Sidon of the Zora main questline. They’re in East Reservoir Lake, under that giant whirlpool in the middle.
Continue forward once you reach Zora’s old waterworks, going around the large pillar in this first room to find a large hole you can drop down through.

Image Credit: Nintendo
In the next room you will find a Stone Talus that you can fight or avoid. If you decide to fight him, aim for the glowing outcrop on his back to deal damage. If you’d rather avoid it, you can go around the right side of this room. If you hug the wall, you won’t wake it up.
After defeating him, or avoiding him, go through the large waterfall on the back wall of this room. You should be able to see a flashlight behind the water. There you will find the chest containing Zora’s greaves.

Image Credit: Nintendo
Zora Greaves have three points of armor and will increase Link’s swimming speed.
Once you have them, congratulations! You have collected all three parts of the Zora Armor. If you’re also looking for some other sets while you’re at it, also check out our list of Tears of the Kingdom armor.
To view this content, please enable targeting cookies. Manage cookie settings
Categories: Guides
Source: ptivs2.edu.vn