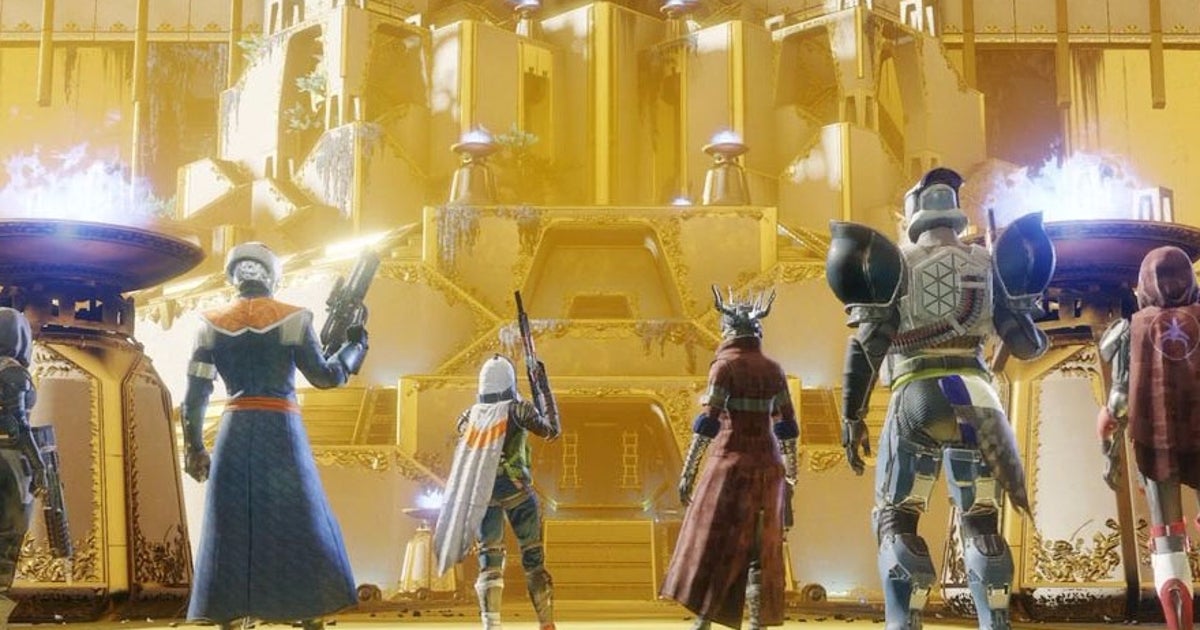
Destiny 2’s first raid is possibly the activity that players were most looking forward to in the sequel.
Destiny Raids are an end-game activity limited by high-level requirements, where a group of players take on a challenge of puzzles and bosses to obtain exclusive items, and Destiny 2’s Leviathan raid is no different.
Although they can take half a dozen hours (or more!) for a first playthrough, they are designed to be replayable, with randomized loot that encourages players to revisit them week after week, bringing them closer and closer to the level cap with each session.
Without giving away details here, Leviathan plays out a little differently when it comes to checkpoints and exploration, which we’ll introduce, along with explanations of standard rooms and bosses, in our Destiny 2 Leviathan guide and walkthrough.

Destiny 2 Leviathan Guide and Walkthrough
Step by step tutorial:
Additional activities:
Other Destiny 2 Raids:
How to prepare and what you need to know about Destiny 2’s Leviathan raid
Like Vault of Glass and Wrath of the Machine in the previous game, Raid offers challenges and rewards like no other in the game. Here are ways to prepare and things to know about Leviathan:
- Getting as close to the maximum power level as possible will help as much as possible, as Leviathan’s recommended light level is 300. In our experience, you can get away with some players in the lower range as long as you have some players on average or higher than recommended, although in the end you’ll want to have some higher levels for the final encounters so they can stay alive and do more damage.
- Likewise, don’t worry too much about classes. While certain classes and their abilities can be useful (the Void Hunter class can turn invisible or bind enemies for damage phases, for example), as with previous raids on Normal mode, there’s not much to depend on a specific class or subclass.
- That said, if you haven’t already, it’s worth unlocking all three subclasses to give you as many abilities as possible for both attack and defense.
- Bring your best weapons with you, and if possible, try to carry a variety of weapons and armor types to maximize your variety of power options for pesky shielded enemies.

- As with previous Raids, teams are made up of six players and there is no matchmaking. Raids revolve around close coordination in puzzle-like scenarios, and working with a team you know well will allow you to succeed. However, the new Guided Games system, which allows players to join clans that announce open slots in an upcoming session, solves this problem.
- Join a clan and raid with clan members to unlock an additional Hawthorne engram at the end.
The Season of the Depths is here along with the Into the Depths quest. You can also know how to go fishing! Don’t forget to keep an eye on the Lost Sector and King’s Fall challenge rotation schedule!
- Continue and go as far as you can through the World-Eater quest, which requires you to complete the raid to unlock the next step.
- Before playing, it may be worth completing the Emperor’s Adventure Invitation for an interesting story about the Raid and its possible cast.
- As with previous raids, Leviathan is one of the few sources of equipment that can take you to the maximum power level, so it’s worth replaying each week to level up your character.
- In addition to high levels of equipment, it is also a source of exclusive loot, such as shaders, weapons, and armor. It’s also one of the few activities where you’re most likely to get Masterworks.
- Like other modes in Destiny 2, the Raid features several challenges to complete, one of which is exploring the underbelly of the Leviathan Labyrinth for all sorts of optional secrets outside of the main Raid progression. While previous raids have hidden chests and other secrets, the level of optional areas here seems unprecedented.
- After an update in late October, Raid Keys will no longer disappear on a weekly reset, so don’t be in a rush to spend them right away if your team is busy tackling the next part of the raid.
- When the first team completed the Raid, Bungie unlocked a Crucible map set in Leviathan so players could fight.
- Starting with the Curse of Osiris update, you will no longer need to complete the Raid to spend the Tokens received from each completed segment: Vendor Benedict will accept them immediately.
What you need to know about Destiny 2 Leviathan Raid Checkpoints and Checkpoints
This particular section contains spoilers about the layout and progression of Leviathan Raid, so read the following paragraphs at your own risk.
The Leviathan Raid works a little differently compared to other Raids. Starting at the ‘Embarkation’, or outside the ship, you must move towards the main room of Castellum with the bannermen.
Once you do this encounter, a door will open to the next area: In the first week, this was the Royal Pools, but the order of the three events leading up to the main boss changes with the weekly reset.
After you have finished a section, regardless of the order of that week, you must return to this first Boarding area and perform the same process at a different gate, essentially acting as a hub for each new challenge.

Don’t worry too much if you come back here on a second try.
If you leave a social space, although technically the game will keep your progress, you will be dropped right at the beginning of the Raid and will have to complete this first Boarding gate opening sequence again to return to where you were.
If you need to return to a social space, have at least one person stay in the room you’re currently in to ensure you don’t reset everyone to the beginning. If you do, again the checkpoint exists, you just need Castellum to fight one more time to get back there.
Alternatively, you can unlock the underbelly of the Leviathan to find a connected network that can take you to each raid room through alternative means.
The instructions are confusing, so the following four YouTube videos can explain it better than we can. Remember that you must first find your way to the underbelly using the levers, and to reach each section you must have unlocked its checkpoints. For example, if you haven’t unlocked the Pleasure Gardens objective that week, you won’t be able to get there; you will simply be greeted with a closed door until you do.
Royal Pools Shortcut:
Pleasure Gardens Shortcut:
Gauntlet shortcut:
Shortcut to the throne and the final boss:
Thanks to the Destiny subreddit for letting us know about the above.
The other benefit of this checkpoint structure that takes you back to the beginning is that it allows you to explore the underbelly of the Leviathan’s Labyrinth for all sorts of secrets, making the journey there a little less problematic if you want to open those loot chests.
Categories: Guides
Source: ptivs2.edu.vn