Battlefield 1’s Scout class, which will almost always be called a sniper, is your long-range option for those large, open maps. In fact, Battlefield as a series has earned a bit of a reputation for its sniper-friendly multiplayer, and if anything, that’s intensified in Battlefield 1.
There’s more utility than ever with the Scout class this time around, particularly in terms of reconnaissance for your team and survival for yourself, as the Scout gets a wider variety of gadgets than any other class in Battlefield 1. DICE certainly knows its audience.
As you’ve probably guessed, we’ll be looking at the Scout class in depth here, but once you’re done, be sure to also check out our guides for the Assault class, the Medic class, the Support class, and the Specialist Pilot, Tank. and Cavalry classes too.
[4K] Battlefield 1 on Xbox One X: 4K update reviewed, but what about multiplayer?

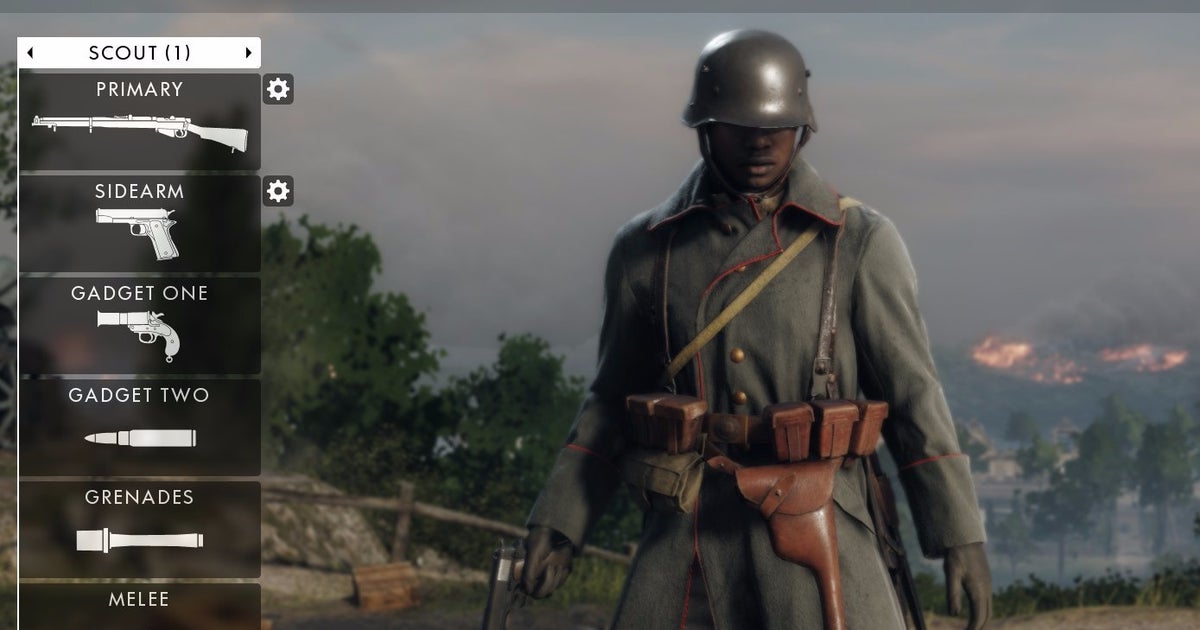
Scout class equipment: sniper rifles and hand weapons
We’ve laid out all the details on the Scout class weapons, as well as the Assault, Medic, and Support classes, in our complete Battlefield 1 weapons guide, where we delve into the specifics of damage, accuracy, clip size and more.
Here, we’ve put together a quick rundown of what you can set up for your Scout class in Battlefield 1, along with our specific tips for each class below.
Sniper rifles:
- Russian trench of 1895
- Russian sniper from 1895
- Russian infantry of 1895
- Gewehr 98 Shooter
- Gewehr 98 Sniper
- Gewehr 98 Infantry
- SMLE MKIII Shooter
- SMLE MKIII carbine
- SMLE MKIII Infantry
- Gewehr M.95 Shooter
- Gewehr M.95 carbine
- Gewehr M.95 Infantry
- M1903 Shooter
- M1903 Sniper
- M1903 Experimental
- Martini-Henry Infantry
- Lawrence of Arabia SMLE
Side arms:
- M1911
- P08 Pistol
- Year 1903
- C93
- Revolver number 3
- hummingbird
- Automatic Brands
- Winery 1889
- Automatic Brands
- Frommer’s stop

Unique Scout Class Items
Battlefield 1’s Scout class has some pretty intriguing gadgets, more accurately representing the stranger side of warfare during World War I. The trench periscopes mark your enemies for your teammates, while the sniper shield is a fantastic aid in offering you frontal cover from other snipers when you are in precarious positions, and the sniper decoy acts exactly as that to distract others snipers and give you knowledge of their positions.
- trap bomb
- Flare Gun – Spot
- Flare Gun – Flash
- k bullets
- sniper decoy
- sniper shield
- trench periscope
- Trap bomb: high explosive
- Trap pump – Gas
For more Battlefield 1 tips, check out our main Battlefield 1 guides, tips and tricks hub; our Battlefield 1 map breakdown, our full list of Battlefield 1 weapon stats, unlocks and war bonus tips, and codex entries; how to get the small Kolibri pistol; how to get Battlepacks, Scrap and Puzzle pieces; and class guides for the Elite, Medic, Support, Scout classes and also the specialized Pilot, Tank and Cavalry classes from Battlefield 1.
Scout Class Strategies
The first thing you need to keep in mind as a sniper (sorry, scout) in Battlefield 1 is to set your zeroing distance, which is displayed at the bottom right next to the ammo magazine indicator. It makes a noticeable difference to your accuracy at various ranges, which is quite useful when you’re a class focused entirely on one-hit kills from range.
When it comes to range, distance to the target is more important than ever in Battlefield 1. Your rifles, especially the ones you have available in the early stages, can suffer a lot at very long range, with noticeable variations in trajectory. In fact, the Scout class works best at medium-long range, rather than purely long range, probably an accurate reflection of the art given the time period and number of devices used in modern precision rifles at distance today.
As for the act of shooting itself, you must find a rhythm to quickly detect a target, approach, shoot, and shoot again in another round, while searching for your next enemy. Once you get the hang of it, you’ll be amazed at how successful you can be, but remember that zeroing distance when switching between ranges on the fly, which also takes some practice.
Finally, the old scout advice: don’t stay in the same place for too long. Even if you’re having great success, being in the same place makes you an easy target for flankers or other hidden snipers. In the era of Killcams, it’s also easy to find yourself with a knife in your back as revenge from bitter enemies who knew exactly where you were. Take a few photos and then move around, alternating between your favorite spots each time.
Categories: Guides
Source: ptivs2.edu.vn