The Tajikats Shrine in Zelda: Tears of the Kingdom features the Link puzzle with the log building.
Like other starting shrines in Tears of the Kingdom, this one focuses on testing your ability to use the Ultrahand ability to connect materials and solve the puzzle. And although this may seem simple, some tricks can be useful when trying to complete it.
So if you want help solving the puzzles in this shrine, don’t worry. We have prepared this Tajikat Shrine of Tears of the Kingdom solution for you. Although, since you’ll need Ultrahand, you’ll want to have resolved Ukouh Shrine first.
In this page:
If you want to learn more about Link’s adventure, visit our Zelda: Tears of the Kingdom walkthrough.
Zelda Tears of the Kingdom Tajikats Shrine Location
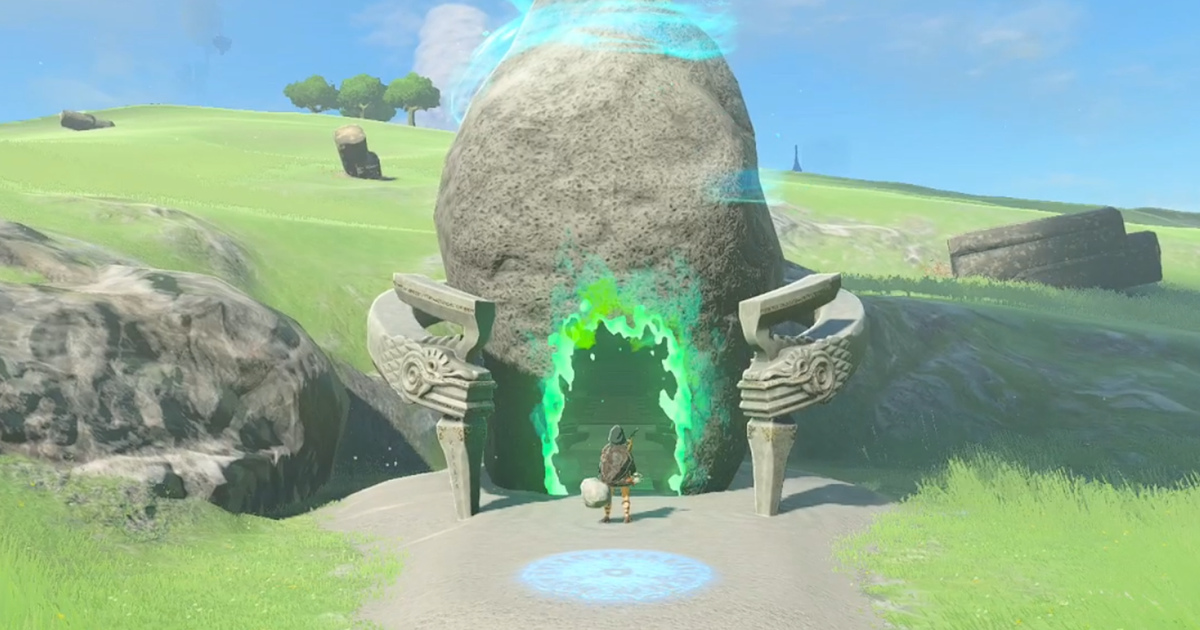
Tajikats Shrine is located southeast of Lookout Landing at coordinates (0342, -1006, 0016). It can be easily found if you follow the east path out of Lookout Landing and continue south. You’ll know you’re in the right place when you see the giant horse head found in Riverside Stable, right next to the shrine.

Tajikats Shrine puzzle solution in Zelda Tears of the Kingdom
To solve the Sanctuary of Tajikats, you must cross it by solving three Log Construction puzzles that allow you to progress through sections of the sanctuary.
Tajikats Sanctuary puzzle 1 solution
In the first section of this sanctuary, you cannot reach the highest area since you cannot climb the wall. However, right next to you is a log that you need to pick up with Ultrahand and place to serve as a climbing structure.


Tajikats Sanctuary puzzle 2 solution
The time you need to cross has a central structure divided into two parts, one higher than the other, with a gap between them, and water on both sides. You can’t just jump from one place to another, so you have to use the logs to get to the other side.


You still need the first log you used, so pick it up again with Ultrahand and stick it together with the other two logs you find near you, making a three-log raft. Although attaching them this way is not the most sophisticated answer, it works well. Be sure to position your frame so that it is held together by the frame below.
Tajikats Sanctuary puzzle 3 solution
The third section has two parts. First you have to cross a short stretch of water, and then you have to reach a higher area with a large area of water separating it. For the first one, you can grab the raft you just built.

For the second part, it’s time to build a bridge with the raft. On the right side of the area between phases, there are four more registers. Group three of them together and stick them on the base of the other three you just used. You can still place a third set of three logs, but with only two you will have enough to reach the highest area.


Tajikats Sanctuary puzzle 4 solution
Now in the fourth section, there is a large water area with the final statues at the end and a chest on the left side. Near you are more logs and a couple of fans. so yes, you need to build a boat. But the challenge here is dealing with drift, which makes aiming the boat much more difficult.

Let’s focus first on getting the chest that gives you a spiked shield. To do this, you can make a raft out of four logs and place two fans so that they propel you forward. I simply glue the two together. The secret here is where to place the boat. By using the ramp on the right side, it is easy to make the boat follow a direct path to where the chest is.


To return to the previous area, simply use Recover. You may need to swim a bit, but your boat will end up near you anyway because of the crack. Pick it up with Ultrahand and now use the center area of the platform to aim the boat so that it at least gets close to the statues.


Again, you may have to swim to the next platform, but you’ll be close enough to avoid running out of energy.
With that, you have completed the Tajikats Shrine in Zelda: Tears of the Kingdom! If you want to learn more about Link’s adventure above, above, and below Hyrule, check out our Zelda: Tears of the Kingdom walkthrough.
To view this content, please enable targeting cookies. Manage cookie settings
Categories: Guides
Source: ptivs2.edu.vn