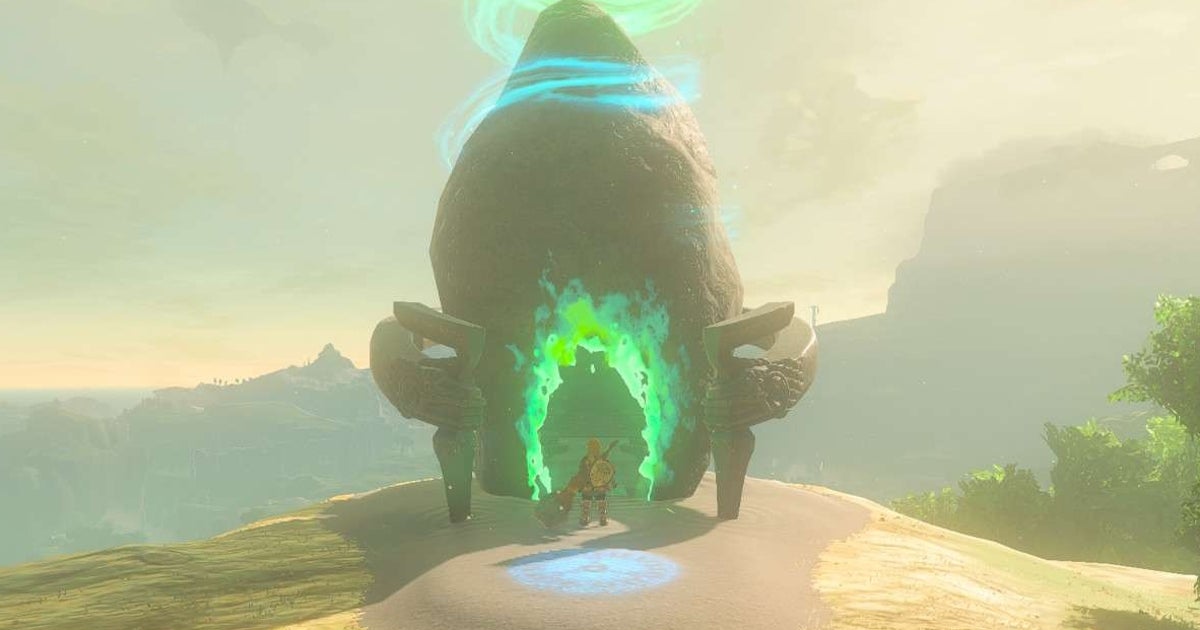
The Sonapan Shrine in Zelda: Tears of the Kingdom can be found west of Hyrule Fields, on a cliff on the outer edges of Satori Mountain.
Like other Shrines in Zelda: Tears of the Kingdom, Sonapan Shrine tests you to think outside the box and use Link’s abilities in various ways, requiring you to have good timing and clever combinations of various abilities such as Ultrahand, Ascend and Recall.
These are all acquired in the game’s starting Shrines, so once you have them, you’ll be ready to learn how to complete the Sonapan Shrine in Zelda Tears of the Kingdom.
In this page:
To view this content, please enable targeting cookies. Manage cookie settings
10 Things We Wish We Knew Before Starting The Legend of Zelda Tears of the Kingdom Watch on YouTube
If you want to learn more about Link’s quest, visit our step-by-step guide and tips for Zelda Tears of the Kingdom.
Location of the Sonapan Shrine in Zelda Tears of the Kingdom
Sonapan Shrine is located in the western part of Hyrule Field, more specifically on the eastern outskirts of Satori Mountain.


A map view of the Sonapan Sanctuary. The image on the right shows a larger view of the area.
While the image shows your specific location, if you haven’t yet activated Hyrule Field Skyview Tower to reveal the map area, the coordinates may be more helpful: (-1921, -0359, 0228).
Sonapan Shrine solution in Zelda Tears of the Kingdom
The first step when entering the Sonapan Shrine is quite simple: using your Ascend ability, jump to the platform hanging above the ground level from where you start.

The platform you need to use the Ascend skill on is right ahead: run forward until you reach the wall, look up, and use the Ascend skill to climb up.
This will take you to a platform similar to the one you just ascended, but with no way to climb up and continue through the opening above.
To progress, you will need a block that is in an alcove on the right, but before placing it on top of the platform to climb, use Ultrahand and take the block to the alcove on the left side.


Left: the block in the right niche. Right: Move the block with Ultrahand to the left niche.
In this gap on the left there will be another block, locked to a set of tracks, preventing it from moving vertically.
That’s not a problem, though, as it’s a problem we’ll solve using that other block: Using Ultrahand, move the block that’s already in the left niche along the tracks so that it’s below where the chest is located. in the space on the wall.
Then with the other block, use Ultrahand to move it and attach it to the top left corner of the other tracked block; This will keep it up and in place above you.


Left: Move the block linked to the track to the right, under the chest on the wall. Right: Connecting the right niche block to the top left of the other block.
Once this is done, walk under the newly attached block and use Ascend to reach the top.
Jump up and then down to the other block to open the chest!


Left: Emerging from the top of the block with Ascend. Right: Open the chest while standing on the track block.
Now that’s done, we can continue: bring the block you used for the ascension and place it on the platform in front of this area; This is where you first jumped.
Once it’s up, use Ascend to float to the top of the block, leaving and continuing through the gap to the next area.


Left: Move the block on top of the platform above. Right: Using Ascend to reach the top of the block; you can see the green glow from the end of the shrine area at the top.
The next part is a bit trickier and requires timely uses of the Recall ability, as well as Ultrahand and Ascend.
Using Ultrahand, take the block you can see sticking out of the left wall and place it in the corner to your left, adjacent to the wall near the water.


Left: The block in the open niche in the wall. Right: Move the block to the corner adjacent to the wall above the water.
Once it is well seated in the corner, lift it as high as possible and hold it there for a few seconds.

Lifting the block with Ultrahand.
After that, release the box and change it to Recover; Once you have it equipped, select the box to rewind it mid-air.


Using Recall to rewind the path we made with our Ultrahand moves, keeping the block in place on top of us.
This will make the box go back up, allowing you to use the Ascend ability to jump up and emerge on top of the block.

Emerging at the top of the block with the Ascend ability.
Jump to safety on the left, but quickly use Ultrahand again to grab the block before it falls; It may take a few tries to time everything correctly, but keep going until you’ve managed to grab the block a second time once up. the new platform.

Hold the block in place with Ultrahand after Ascending.
Once you have it, you’ll want to push it forward and towards the central platform sticking out from above.
Just like before, hold it in place for a few seconds, but instead of letting go, bring the block towards you and hold it in place for a few more seconds.

Moving the block to the side of the other platform.
After this, exit Ultrahand and immediately equip Recall and apply it to the block.

Before applying Recall to the block.
Once this is done, quickly jump onto the box and when it reaches the higher platform you moved it to, jump to safety and claim your Light of Blessing.


Stand on the block while the Recover skill takes you along the path you moved the block with Ultrahand.
That last part can be difficult to execute, but if you have the Paraglider, there is a different approach you can take: by standing on the first of those two final platforms in the final room, you can move the block to that upper platform, release it, and glide up. where it lands, then use Recall to take you straight to the top.


Left: Standing on the first of the two final platforms, using Ultrahand to move the block, avoiding the objects protruding from the wall. Middle: Standing on the block after it has fallen, ready to apply Recall. Right: The block returns to the position we moved it to with Recall.
Either method works, but the Paragliding approach is worth considering if you’re having trouble with timing.
Otherwise, if you’re looking for other guides or tips, be sure to check out our full Zelda Tears of the Kingdom walkthrough, complete with Sanctuary, outfit, quest guides, and more.
To view this content, please enable targeting cookies. Manage cookie settings
Categories: Guides
Source: ptivs2.edu.vn