The Gemimik Shrine in Zelda: Tears of the Kingdom is home to the Turbine Power puzzle, which requires Link to use a turbine fan to light many torches at once.
Playing with fire and rapidly spinning turbines can be dangerous during the Turbine Power puzzle, so this Zelda: Tears of the Kingdom guide will explain how to set things on fire safely.
It will explain the Gemimik Shrine solution, how to get the chest, and the Gemimik Shrine location. Isn’t this the sanctuary you’re looking for? Check out our guide to all the shrine locations in Zelda: Tears Of The Kingdom.
To view this content, please enable targeting cookies. Manage cookie settings
10 Things We Wish We Knew Before Starting The Legend of Zelda Tears of the Kingdom Watch on YouTube
If you want to learn more about Link’s adventure, visit our Zelda: Tears of the Kingdom walkthrough.
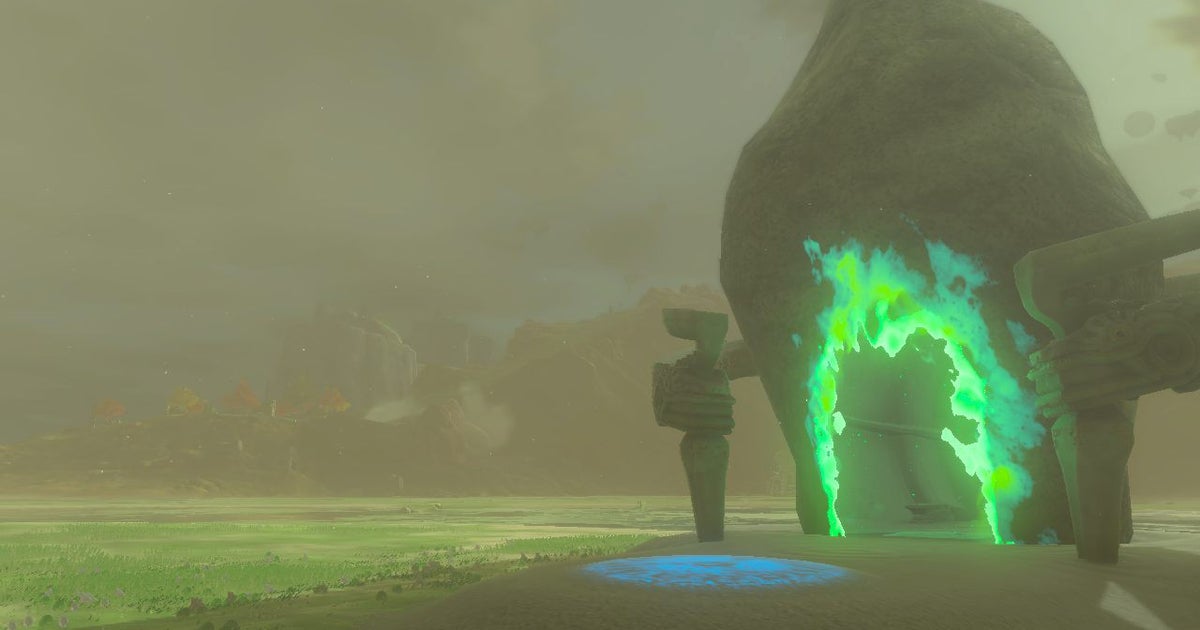
Gemimik Shrine location in Zelda Tears of the Kingdom
The Gemimik Shrine has an interesting place on the map. It is in the Akkala region, in the center of that spiral that heads towards the northeast. Its precise coordinates are (4513, 2116, 0001).

To get there safely, the easiest way is to approach from the south, where the spiral connects to the mainland. This way you won’t have to swim through any of the lagoons, which are surprisingly large and consume a lot of energy. If you want to swim, consider bringing some stamina-boosting foods or elixirs if you haven’t upgraded your stamina bar much.
Also keep an eye out for Aerocuda, Lizalfos, and Octoroks as they approach.
Solution to the Gemimik Shrine puzzle in Zelda Tears of the Kingdom
There are two Turbine Power puzzles to solve in the Gemimik Shrine
Gemimik Shrine Puzzle Solution One
Once you enter the Sanctuary, you will see the setup in front of you. There is a circle of pillars surrounding a central one, as well as an electric crystal and a cable that runs along the floor.
First of all, find the turbine propeller and place it in the center using Ultrahand. Make sure that it is the bottom of the turbine that is connected to the platform, otherwise it will fall down.

Then find the flat metal sheet and use it to connect the circuit to the ground. Be careful, because the metal will now be electrified and can harm Link.
Now get on the platform and use the paraglider to take advantage of the updraft created by the turbine. You’ll see a higher platform with a flamethrower already activated, so turn in the direction the flame is “pointing.” The platform there can be hard to spot due to the wind and fog in this area, but head to that corner to find where the chest is.

You will also need to be very central in the updraft to get enough height to reach this platform. Once you achieve this, open the chest to receive a powerful Zonaite Shield.
Gemimik Shrine Puzzle Solution Two
Slide back to the updraft and then onto the flamethrower platform. Use Ultrahand to drop one of the flamethrowers to the ground. If you use the one that’s already lit, this puzzle is easier, but be careful not to get hit by the flame as you continue to set things up.
Lower and disconnect the metal plate so that the turbine stops spinning. Attach the flamethrower to the fan, facing the pillars around it. Hit the flamethrower to light it up if it isn’t already.

Now turn the power back on and the flames will spin in a wide circle, activating all the torches quickly. Be careful not to get hit! And finally, the exit door will open, allowing you to collect the Light of Blessing.
To view this content, please enable targeting cookies. Manage cookie settings
If you’d like to learn more about Link’s quest, visit our Zelda: Tears of the Kingdom walkthrough.
Categories: Guides
Source: ptivs2.edu.vn