Workbenches in Valheim are one of the most important elements of the game; Without them, you can’t create new building pieces or pieces of equipment.
The workbench has several requirements before it can be built, but once set up, it will significantly open up the start of the game, from allowing you to set up your first base to crafting important weapons and armor to defeat the first boss.
From there, you can upgrade the workbench to access new item types and upgrade your existing weapons and armor to more powerful variants.
In this page:
19 Beginner Tips to Help You Get Started in Valheim
How to build a Valheim workbench in brief
Building a workbench in Valheim requires several steps. In summary, it is about:
- Collecting wood and stone
- Craft a hammer
- Craft the workbench with the hammer.
- Place the workbench in a protected environment.

This all seems pretty straightforward, but the last point in particular can be confusing. Here you will find more details on how to get your first workbench up and running.
How to build a workbench in Valheim
To build your first workbench, you’ll need several components, and all of them require some stone and a lot of wood.
Wood can be found by interacting with branches on the ground or by crafting an ax and cutting down the thin trees found around the Meadows biome.
The stone, for its part, is found interacting with small rounded rocks scattered on the ground. If you’re having trouble finding them, head to more open parts of the Meadows, as they can be harder to see from a distance in more wooded areas.
When you’re ready, craft a hammer, which requires:

Equip the hammer and press the on-screen message (in the lower right corner) to access the Build menu. Now go to the crafting tab and select workbench.

To create a workbench, you need the following resources:
Once crafted, it opens up a host of new crafting options, from flint-based equipment to building pieces (walls, roofs) that allow you to build a base of operations.

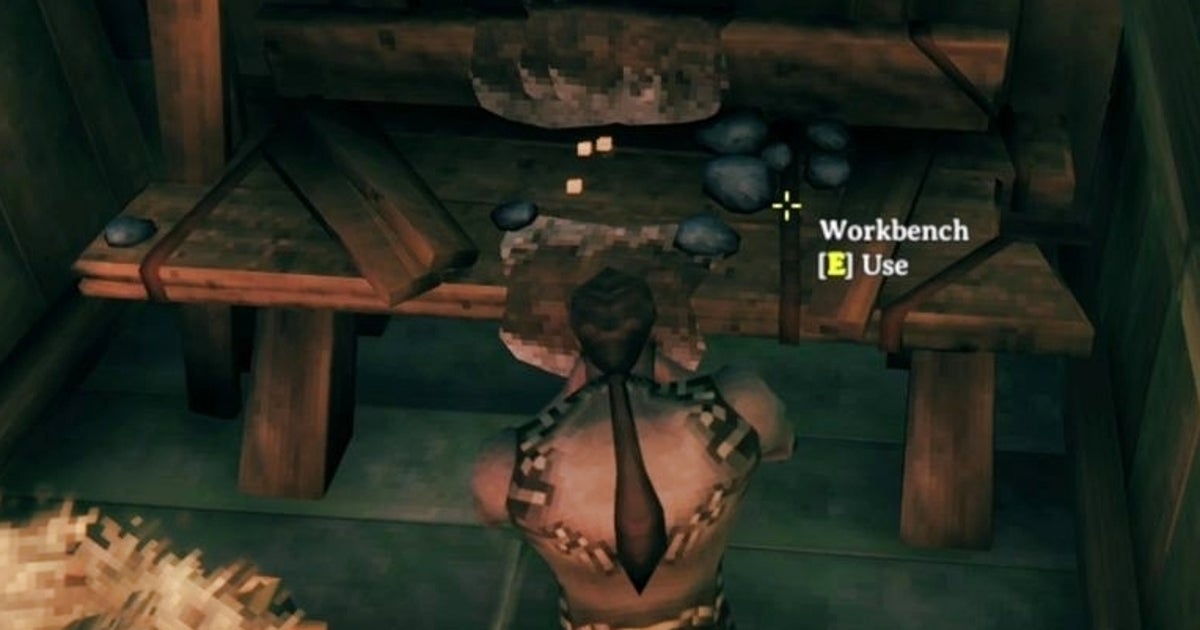
However, that’s technically not all you need. To use the workbench, you need a roof. In other words, it must be placed within a structure.

There are two ways to do this. One is to build a structure around it from scratch, which can be done with the hammer near the workbench. It doesn’t have to be a full shelter; As long as you have a floor, wall, and ceiling over the workbench, you’re good to go.
The other is to place it in a ruined structure that is already available. This is something we recommend for your first base, especially since it will cost fewer resources and take less time.

We found a handful of ruins not far from the first boss rune (remember that each Valheim map is procedurally generated, so each game will be different, but its Meadows biome will likely offer something similar). This location also acts as a useful respawn point early in the game once you’ve built a bed.
Once you’ve found a suitable ruin, place the workbench inside and then repair all the panels around it. From there, you can now use your artboard.


How to upgrade your workbench in Valheim
Your crafting options will expand considerably compared to those you can access with just the hammer, and will continue to expand as your crafting table level increases.
You can find the currently available workbench level via the star in the top right corner of that menu, and the workbench requirements for a particular item next to the star next to the required components.

To upgrade your workbench in Valheim, you need to build a specific item for each level. To craft it, equip the hammer near the workbench, then check the Crafting tab.

Now place the item near the workbench. Although it needs to be within a small radius, the good news is that it can pass through a wall, so if you have a small building with little interior space, you can place it outside as long as it is close enough.

More crafting level upgrade items will become available as you unlock more resources throughout the game; For example, the forge and its various metals, such as iron, will be necessary for later workbenches.
Valheim Workbench Tier Requirements Explained
As explained above, each new workbench level requires the construction of a new item, which appears in the Crafting menu when you reach the previous level.
The level requirements are as follows:
Level 2 Workbench Requirements
You need to build a cutting board near the workbench. This requires:

Workbench Level 3 Requirements
You need to build a tanning rack near the work table. This requires:
- 10 wood
- 15 flint
- 20 pieces of leather
- 5 deer skins

Workbench Level 4 Requirements
You need to build an adze near the workbench. This requires:
- 10 fine woods
- 3 bronze (forging required)
There are likely more updates, which we will update as we find them.
Best of luck with all your crafting needs!
Categories: Guides
Source: ptivs2.edu.vn