Spelunky 2’s bosses are enemies that require a little more thought and planning than (most) of the others you encounter.
While the original Spelunky had major bosses at the end of certain runs and mini-bosses that appeared depending on the randomness of your run, the sequel mixes things up a bit by introducing you to bosses at key moments, like Quillback in The End of the First World.
The good news is that you can completely ignore some bosses, allowing you to treat them more like an environmental obstacle than something to defeat and overcome.
Please note that there are spoilers for Spelunky 2 on this page and the table of contents links just below.
In this page:
If you want to practice with these bosses, remember that you can unlock Spelunky 2 shortcuts to get to later worlds faster.
Quillback Strategy in Spelunky 2 Explained
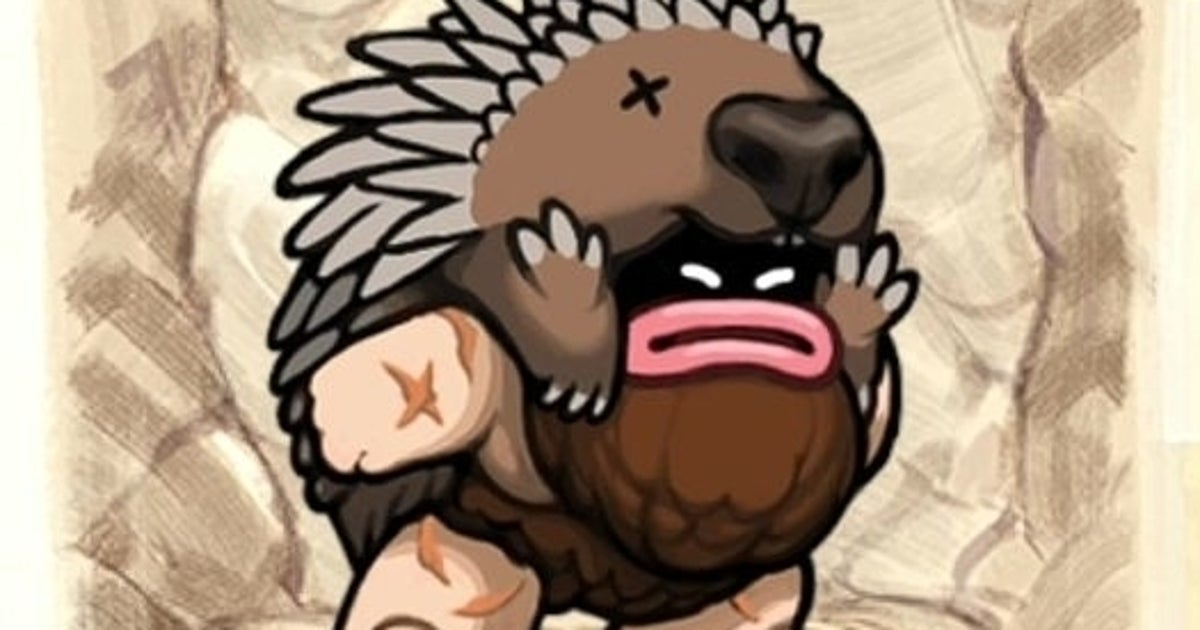
The first boss in Spelunky 2 is Quillback, the caveman leader with the skin of the last cave porcupine on his back.
You’ll find them at 1-4 and they could serve as the first major threat in your game. Getting to Quillback’s lair works the same way every time (unless, of course, you decide to use bombs or other items): via stairs from above.

Quillback will pace back and forth below and charge at you when you see him.
Fortunately, the tactic here is pretty simple: go up one of the stairs and let Quillback pass you. They should then roll towards one of the side walls of the lair, destroying them.

This is how you can avoid fighting Quillback completely. Taunting them to roll again will expose that side of the lair, leading to a ladder and door that will allow you to continue the rest of the level.

This is the safest and easiest way to deal with Quillback. Alternatively, you can continue prompting Quillback to roll back and forth; Each time they must dig deeper into the ground, unearthing gems and other resources for you to take.
You can also kill Quillback if you feel like it. The easiest way is to use a bomb, although placing it correctly is difficult – we managed it when Quillback fell to a lower level, so we were out of sight. Doing so will give you some cooked turkey and could be a useful way to get some extra health.

Olmec strategy explained in Spelunky 2
Surprise! Olmec, the last boss of the “normal” series in the original Spelunky, is the boss at the end of the second branch in Spelunky 2.
There is an easy way and a difficult way to approach the Olmecs. The hardest way is to approach the Olmec as you did in the original. Olmec will float when you approach and crash to the ground. You can have Olmec hit where you are standing, allowing them to dig deeper and deeper as you move out of the way each time.

It’s hard to do well since the Olmecs can crush you, but if you run sideways and create a big enough hole, you’ll have enough room to evade the Olmecs every time.

As with Olmec in the original, you can stand on top of Olmec, allowing you to reach the treasure above.
When you reach the lower level, be careful: Olmec will transform and start spitting out bombs. He runs to the right side, slides the block and goes through the exit to reach the Tide Pool area.

However, like Quillback, it is not necessary to defeat Olmec to move forward. The Olmec level design now has two ‘spaces’ below where you start, each with a level exit to take. As long as you reach one, you can enter and move on to any of the World 3 branches.
With just a few bombs, you can ignore Olmec completely and dig in on the left side. Three or four bombs should be enough to reach the exit of the first level, and Olmec won’t even move.
Then another three or four bombs after that should be enough to get to the next shortcut. (Thanks to Christian Donlan for the tip!)
More coming soon!
Categories: Guides
Source: ptivs2.edu.vn