The second episode of Resident Evil Revelations 2 begins with a bar fight and then doesn’t let up until you finish the final boss showdown with a drill. Continuing with last week’s full Episode 1 walkthrough, here’s our guide to getting halfway through this episodic series without coming unstuck.
Comparison of Resident Evil Revelations 2 PS4 and PC
In this page
Resident Evil Revelations 2 – Ep 2: Explore the village, repair the helicopter, then find the battery and fuel. Our walkthrough for the second episode begins with a quick item search.
Other pages:
Resident Evil Revelations 2 – Ep 2: Survive the bar siege, escape the village and then use the tunnels to reach the city Our guide to survive the bar siege, escape the dodge and then use the tunnels to reach the town city safely.
Resident Evil Revelations 2 – Ep 2: Get a more powerful shotgun and open the security door. Where to get a slightly more powerful shotgun and open the security door.
Resident Evil Revelations 2 – Ep 2: Go deeper into the city, defeat the barrel boss and find the tower. How to survive the deadly barrel boss encounter and start moving towards the tower.
Resident Evil Revelations 2 – Ep 2: Sneak through the abandoned village and locate the key to the back door. Our tour continues with a guide to sneak through the village and locate the key to the back door.
Resident Evil Revelations 2 – Ep 2: Explore the fishing village, fight invisible enemies, and then return to the city. Everything you need to know about how to eliminate invisible enemies (yes, really) and return to town.
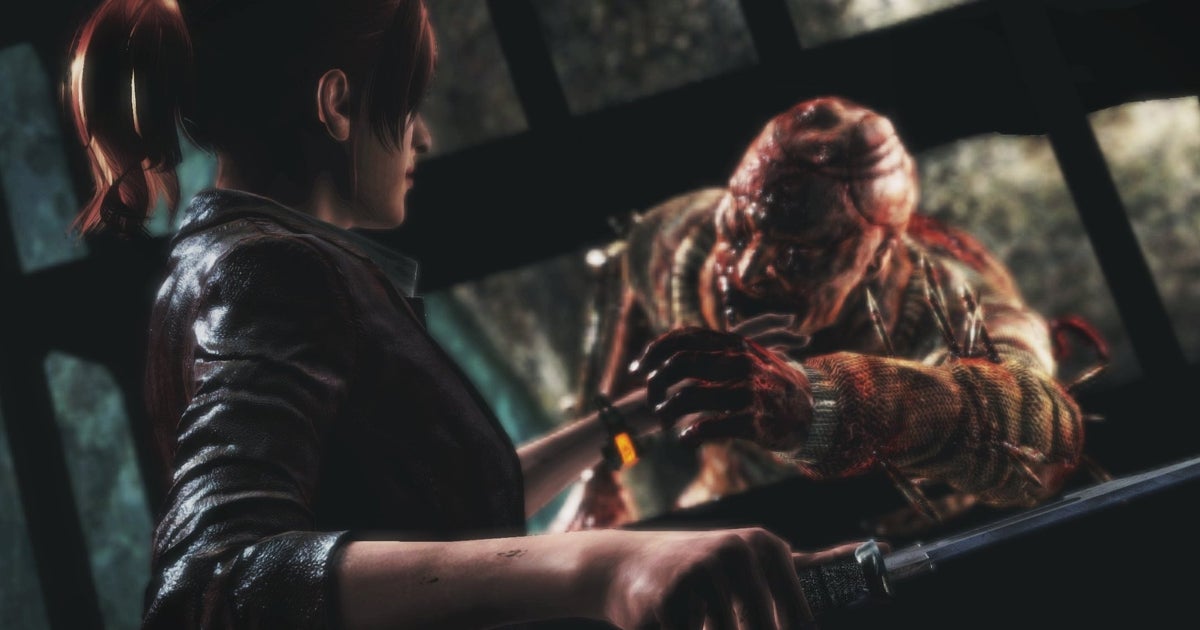
Resident Evil Revelations 2 – Ep 2: Fight parasite-spewing mutants and explore the apartments How to kill this annoying beast and grab what you need from the apartment complex.
Resident Evil Revelations 2 – Ep 2: How to Kill Pedro and Get to the Overseer’s Tower Our guide to finishing the fight with Pedro and reaching the conclusion of this week’s episode in one piece.
Other episodes:
Resident Evil Revelations 2 Episode 1 Walkthrough
Resident Evil Revelations 2 Episode 2 Walkthrough
Resident Evil Revelations 2 Episode 3 Walkthrough
Resident Evil Revelations 2 Episode 4 Walkthrough
After a brief recap of the events of the previous episode, it’s time to meet up with Claire and Moira as they head deeper into the island’s surroundings. The action begins in a run-down bar located in the center of a remote fishing village. Our brave duo has a few moments of peace to catch their breath and reconnect with some old friends.
However, you will soon receive worrying news and your adventure will take a much more frenetic turn. Shortly after, Gabe, one of your new companions, will open the door and motion for you to come out. You can follow that in a moment, but first, it’s worth exploring the bar.
There is a cloth and a smelly chemical on the shelves towards the back of the bar, an empty bottle, two decoy bottles, and a barrel containing an incendiary bomb bottle in the adjacent room, plus a map of the fishing village and a barrel containing pistol ammo at the top of the stairs. Finally, there is a workbench on the ground floor, in case you need to change weapons or make any upgrades.
Once you’re properly equipped, follow Gabe to the front door, turn right, and help him open the front door in the distance. There’s a downed helicopter on the other side, so head over and get ready to begin the search for a battery and some fuel.
Where to find fuel
Return through the main doors and turn right just before you reach the bar, passing between the two nearby buildings. Note that there is a small chest located on the metal steps to the left, but you will need Natalia’s little hands to open it later in the episode.
You’ll be attacked by another mutant as you make your way between the buildings, so take him out with a headshot and then enter the small building on the right. Inside, you’ll find an explosive bottle on the floor and a small box containing pistol ammo.
Exit the building and continue to the right until you reach the wall. To the right, you will find the entrance to the fuel tank, but the passage is blocked at this time. Take note of its location and start looking for a drill to enter.
Looking for Peter
Turn around and move forward with the rock wall on your right, then follow the curving alley. Once you approach the door on your left, you’ll hear the sound of a drill coming to life. Looks like it’s your lucky day!
Go through the door and exit the building through the opposite entrance. When you come out again, follow the small path that winds between the rocks. There’s a locked chest at the end, so switch to Moira and complete the unlock minigame to recover a box of parts.
Take control of Claire once again, follow the small path back to the village and then turn right. She walks towards the large blue building in the distance and turns left when she reaches it. Pedro is up ahead, so talk to him and get ready for a demonstration of the exercise from him.
Make your way through the newly opened door and explore inside to locate the “Traveler’s Diary” document on a shelf, as well as an MP-AB50 on the floor next to the corpse. There’s also shotgun ammo hidden in the corner and pistol ammo hidden under the stove, but you’ll need Moira’s torch to retrieve them.
Exit the building and then talk to Pedro again. Once you do, he will follow you obediently. If you’re craving submachine gun ammo, check the box in the corner of the building you just explored and look behind the nearby blue building.
How to kill hammer-wielding mutants
There are two large hammer-wielding mutants hiding behind the blue building: one directly in your path and another meandering further along the beach. Just like you did in Episode 1 and concentrate your shots on the open flesh to take them down quickly. Note that destroying the small box behind the blue building will reveal a Natalia-shaped hole that will come into play later.
With your ammo reserves reinforced, make sure Pedro is still with you and then backtrack towards the fuel depot. Once there, let him take care of his drill and prepare to be ambushed by a series of mutants who will be attracted to your position by the noise. Most of them are pretty easy to handle, but don’t let the big hammer-wielding creature catch you off guard. If he hits you with his weapon and you start bleeding, you can make a makeshift tourniquet out of cloth and a green herb.
Once Pedro has finished the task, enter the fuel depot and grab the pistol ammo from the barrel in front of you. He explores the small alcove just to the right of the door and breaks the barrels to release two green herbs, an explosive bottle, and an incendiary bomb bottle.
Turn around and approach the opposite wall with the large yellow sign, then look to the left to discover pistol ammo hidden in the corner. To the right, there is shotgun ammo placed in another barrel. Grab it and follow the hallway to the left.
Carefully head through the door and immediately deal with the mutant hiding to the left. When he’s dead, grab the fuel from the other end of the room. That just leaves the battery to be found.
How to locate the battery
Exit the fuel tank and turn left, following the path back to the bar. From here, turn right and immediately turn left when you reach the end of the building. Use the platform ahead and climb up the grassy ledge, stealing the Topaz (100BP) from the nearby barrel. Continue moving around the blue building until you see the broken ladder leading to the roof.
Interact with it to change to Moira. From the roof, go down to the room below through the large hole in front of you. Grab the gunpowder from the shelf on the left and then go through the blue door. Try the unlock mini-game to open the box on the floor: it contains an expansion bag that will allow Moira to carry more items at once.
Be careful: as soon as you enter the room, a mutant with a hammer will appear in the hallway outside. You have little means of defending yourself while playing as Moira, so grab the empty bottle from the floor and the battery from the nearby shelf as quickly as you can.
Then, run back into the hallway and follow it to the left, exiting the building through the red door ahead. As soon as you exit, he switches control to Claire and takes out the creature with a couple of shotgun blasts to the chest. Once peace is restored, he takes the Red Herb hidden in the corner of the building and then returns to the helicopter site. He finally handed over the Fuel and Battery so we could proceed.
– Read on for our guide to surviving the bar siege.
Categories: Guides
Source: ptivs2.edu.vn