Resident Evil 2 Ghost Survivors Mr Raccoon locations are optional collectibles that can be located in each free DLC chapter.
The arcade-style chapters play out quite differently to the main game, and although they share the same locations, Mr Raccoon locations will appear in different places, requiring a keen eye to find them.
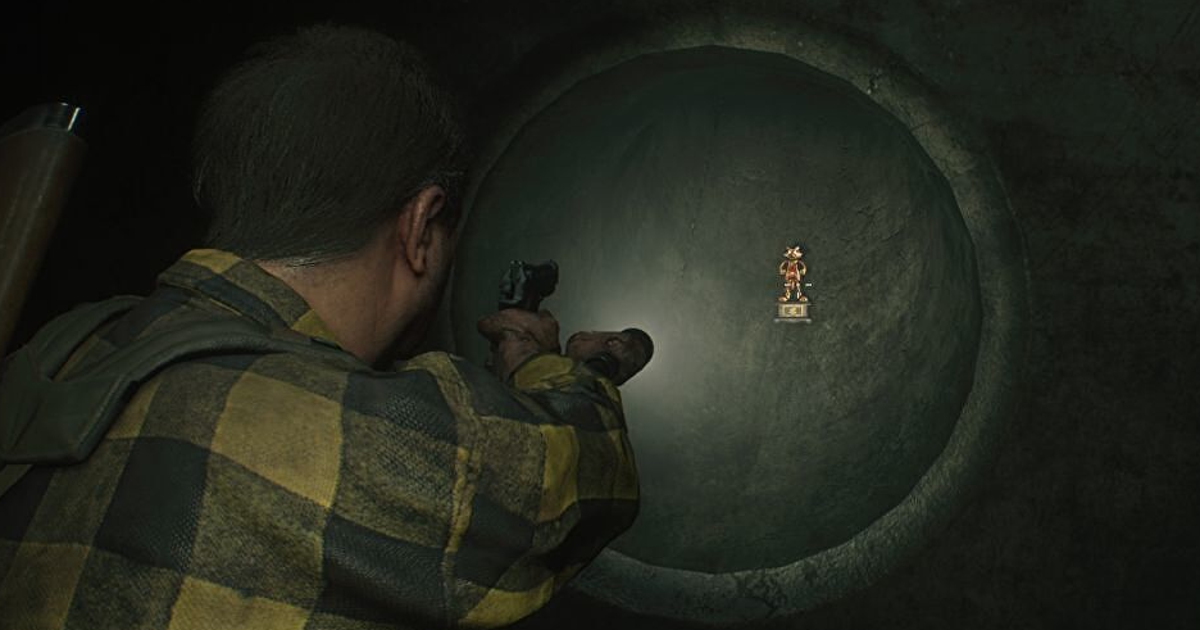
As with the normal Mr Raccoon statues, they are easy to miss and require a bullet or a melee attack to destroy. And once they are destroyed once, there is no need to do it again.
It also doesn’t matter which mode you play, so save yourself some hassle and collect them while playing Training.
In this page:
PS5/ Xbox Series X/S – Analysis of Resident Evil 2 Remake/ Resident Evil 3 Remake
Are you looking for something more about the game? Visit our Resident Evil 2 walkthrough for more help.
Resident Evil 2 Mr Raccoon Locations in Ghost Survivors ‘No Time to Mourn’ DLC
1. Mr Raccoon’s first location is in the Armory right at the beginning of the chapter. It’s on the far right, on the shelves on the back wall.


2. You can find Mr Raccoon’s location in the middle of the Engine Room. We found it easier to spot him by looking from the hallway in front of the room with the zombie with a backpack.


3. Another Mr Raccoon location is in the Sewers, specifically in the Upper Waterway. To get there, after exiting the police station elevator and entering the sewers, turn left and go down the stairs. After going through the Sewer and passing an Adult G, go left to the dead end. Look up at the ledge above you to see it.
Please note that if you take this route, you will not be able to get the next Mr Raccoon location on that same route.


4. The other location is also in the Sewers, specifically in the Lower Canal. To get there, after exiting the police station elevator and entering the sewers, go right, through the door, and take the elevator down. Drop left down the sewage passage, past the three (!) G Adults and up at the end. After that there is a zombie vine. Kill that and Mr. Raccoon will be in the pipe immediately after.
Please note that if you take this route, you will not be able to get Mr Raccoon’s previous location on that same route.


Resident Evil 2 Mr Raccoon Locations in the Ghost Survivors ‘Runaway’ DLC
5. As you travel from the orphanage to the police station, you will pass a basketball court. Mr Raccoon’s location is on the bank next door. Note that there is a Licker here to keep you distracted, so don’t forget to shoot Mr. Raccoon as you go.


6. Before reaching police station B1, on the same street as the armory, there is a street full of cars and zombies. There’s an ambulance here, with a Mr Raccoon location behind it.


7. In the jail, there are several cells to the north (or right) away from the direct route to your final destination. In the middle of these is a Mr Raccoon location on the desk.


Resident Evil 2 Mr Raccoon Locations in Ghost Survivors ‘Forgotten Soldier’ DLC
8. In the pump room there is an elevator that takes you to an upper hallway. Ride it up, but don’t get off the elevator. Look west, then down, to see Mr. Raccoon’s location on the beam below.


9. Towards the end, just as you leave the laboratory, you must defend yourself from Mr. X when the blast doors open. Run past him and into the security room he came out of. Run to the computer at the end of the room, where there is a Mr Raccoon location waiting.


Our complete Resident Evil 2 walkthrough explains all aspects of Leon and Claire’s campaigns, including Locker Code solutions, Leon Desk puzzle solution, all Resident Evil 2 security codes, and portable safe solutions, locations. of hiding places, how to survive Mr. X’s fights and chess. Plug puzzle solution.
Resident Evil 2 Mr Raccoon Locations in Ghost Survivors ‘No Way Out’ DLC
10. There is a Mr Raccoon location hidden behind one of the doors. Specifically it’s the one with the ‘Let’s Dance’ sign next to it in the back corner. You cannot enter this door and can only see it when it opens to let the zombies through. It usually rings several times before that happens, allowing you to stay close and prepare to shoot and hit it.


Are you in the mood to find more things? In the main game there are security codes, portable security solutions and locker code solutions to crack.
Categories: Guides
Source: ptivs2.edu.vn