A PES 2019 options file, or PES 2019 patch, is for some what completely helps Pro Evolution Soccer by introducing official licenses, even if all the best PES 2019 players are officially included.
While playing as Man Red instead of Manchester United or MD White instead of Real Madrid doesn’t literally affect the action itself, it can be argued that the lack of real names inhibits the overall spectacle.
Fortunately, at least for PlayStation 4 and PC players, there is a very easy way to change those default names to the real one.
Downloading fan-made patches to a USB stick and then onto your PS4 (or copying them into game files directly to your PC) can replace every unofficial team, stadium, uniform, competition and/or insignia in the game, meaning We Are capable of making what is a decent football experience on the pitch also one of the most visually realistic.

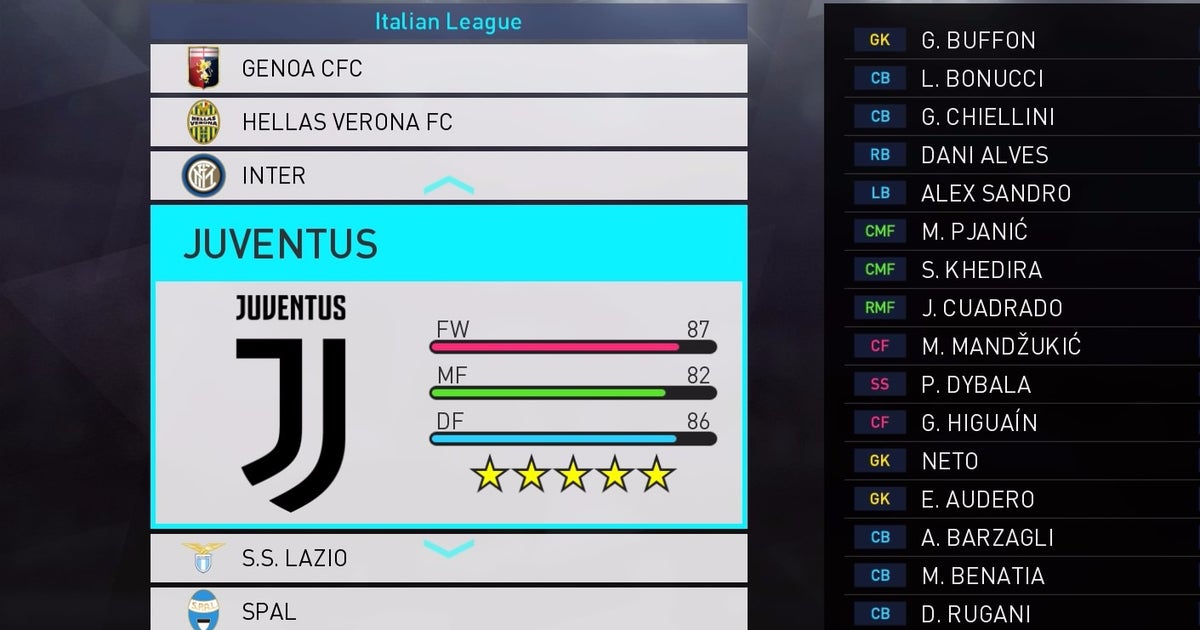
The beautiful promotional image from the creator of the first PS4 options file, linked below.
How to import PES 2019 options files on PS4
PS4 players can now add hugely detailed options files to PES 2019, with a new feature that makes it possible to not only import the files, but to do so across multiple separate profiles with a single folder on a USB drive.
To do this specifically on PS4, simply follow the instructions below (a quick warning: obviously, anything you download from internet forums you do so at your own risk, so keep that in mind before doing too much research):
- Format a USB drive to FAT32
- Create a folder on the USB called WEPES
- Find your desired option files with a little internet research: a popular option is PES World, although it doesn’t appear to be available yet; the only one we can find so far is pes-patch. here.
- If they come in the form of a zipped folder, unzip it to your WEPES folder on the USB. Otherwise, just make sure all the download content is in the WEPES folder.
- Connect the USB drive to your PS4 and open PES 2019.
- Go to the Edit menu, then Data Management, then Import/Export.
- Then select Import Computer, check all the boxes on the next ‘Select File’ page and continue. Next is the “Detailed Settings”, leave all the boxes unchecked here.
- The files will be added automatically, the time will depend on how many teams/leagues you have decided to add.
- Be sure to select the “Save” option on the “Data Management” page that appears at the end of the process, and you’ll be ready for most of the details.
- However, the tournament logos still need to be added manually, so go back to “Data Management”, then “Import/Export” and select “Import Images”.
- Next, select the “Competition Emblems” option on the “Import Images” screen.
- Check all individual images (not folders) and press OK.
- Finally, you must edit each competition manually with their newly imported logos, by navigating through the ‘Competition Category’ pages that will follow the logo import.
PES 2019 Gameplay – Pro Evo 2019 Announcement Trailer – Beckham, Coutinho – PS4, Xbox One
With those steps followed, you now have a complete set of teams with official names, logos, tournaments, kits and badges, as if you were playing a fully licensed version of the game.

Some of the more obscure leagues and players included in this image from the creator’s PC options file, linked below.
How to Download and Install PES 2019 Options Files on PC
Things are a little more confusing for PES 2019 PC players, as the process of installing the fan-made patch requires a different, albeit simple, method to the USB hack on PS4. PC patches may also be a little harder to get shortly after release, but they are available.
One option is this patch from pes-patch.com, although it has not yet been tested on PC at the time of writing; Keep an eye on pes-patch and PES World for more information soon if it’s still not working.
Another site, the PTE patch, should also have it soon. To install them, follow the simple steps below:
- Head to one of the links above and download the patch.
- Follow the instructions or prompts provided once downloaded.
- When the installer asks for a folder to export on your PC, select the installation file on your PC. For Steam players, for example, this would typically be C:\Steam\SteamApps\Common\Pro Evolution Soccer 2019 (note that the drive letter ‘C’ will of course vary depending on which drive you install your games on ).
- Test if the installation worked by heading to the Edit menu in-game, as you would to install on PS4 or manually editing teams, then head to the Teams menu and check the team names, logos, and kits from there.
That should be enough for PC players, but keep in mind that other, more comprehensive patches for PC will likely appear as time goes on. Be sure to keep an eye on community sites like PesWorld and Pes-Patch in the coming weeks.
How to get real club, competition and kit names in PES 2019 on Xbox One
Unfortunately, for Xbox One owners, there is currently no ability to transfer and install an option file. Instead of being able to simply import externally created files from a USB drive, Xbox One players will need to manually edit teams, kits, and competitions in-game.
Fortunately, PES 2019 includes a full editor built into the game, as it did last year. Head to the Edit option again and there you’ll find the options to manually change things like team names (we’ve compiled a list of actual team names to save you some time), along with competition names, team colors kits (although not the sponsors). and logos), and more.
Additional reporting by Chris Tapsell.
Categories: Guides
Source: ptivs2.edu.vn