Metro Exodus postcards are one of the few collectibles you can find in the open world.
They don’t offer any real wins unless you’re a completionist or hoping to fight for the ‘Old World Pictures’ trophy/achievement. They simply offer an incentive to be daring and further explore the game’s stunning post-apocalyptic environments.
It’s worth noting that unlike Metro Exodus’ diary locations, which are more spread out, the postcards are spread out in a few places and aren’t actually present in every chapter.
In this page:
[4K] Metro Exodus PC/RTX review: the next level in real-time imaging
How Metro Exodus Postcard Locations Work
There are a total of 21 postcards to collect in the game’s 10 chapters. You can track your progress and view the postcards you have acquired in the pause menu under collectibles.

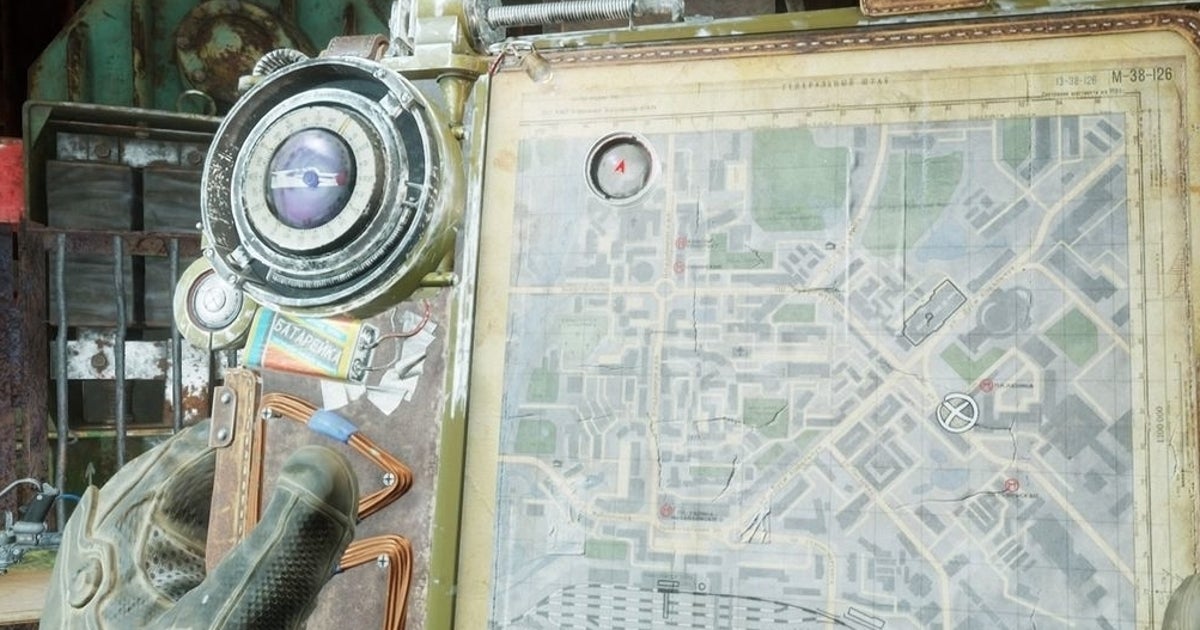
This Metro Exodus Postcard Locations page will show the postcard locations in the order they appear, for the most part. The map is not accessible at certain points during the game, so when necessary, a wide shot was provided to help distinguish the location of the collectible.
Chapter 1 – Moscow Postcard Locations
Only 2 postcards are found in Chapter 1, which primarily serves as a tutorial level.
Postcard location 1
After waking up in the hospital after the Watchmen ambush in the Subway tunnels, continue through the medical wing until you reach a green door through which you can see Anna and Miller talking. Look to your right and in the upper left corner of a locker you will find the postcard.
Note: We found the collectible before taking these screens:


Postcard location 2
Fast-forward to a week later, and you’ll find yourself outside the safety of the Moscow metro system. After a scene with Anna, you will descend into a building. Go down just one flight of stairs and turn right into a hallway and right again into an apartment building. Just in front of the entrance, to the right of the window, is postcard number 2.
Note: We found the collectible before taking these screens:


Chapter 3 – The Volga Postcard Locations
The Volga is the first point where Exodus’ environments open up, giving you free rein to explore the hostile wasteland at your own pace. There are 5 postcards that can be found in this chapter.
Postcard location 3
The story will naturally take you to a church of cultists. On the left side of the building you will find a room with a staircase that will take you to some barracks. On the back right wall is the first postcard of the chapter.


Postcard location 4
The story path will take you to the Krest Crane hideout. Postcard 4 can be found in his room on the right side of the door leading out to the zip line.
Note: We found the collectible before taking these screens:


Postcard location 5
Head to the far northeast, pass the bridge that connects the lair of the leader of the religious fanatics to the mainland, and find some kind of van on the way with a green door on the back. Open the door and immediately look to your right to find the postcard.


Postcard location 6
East towards the tsar fish house (story will see you in this area anyway) and along the tracks you will find a shack next to some metal gates with a green door. Directly on the opposite wall you will find the postcard.


Postcard location 7
This postcard is obtained in the final mission of The Volga chapter once you enter the cultist’s fort via the bridge in the northeast region of the map. After going up one floor in the elevator, stay to the right and go through a closed door to enter a room with fire. To the right of the fire on the wall is the postcard.


Chapter 4 – Yamanatu Postcard Locations
This chapter is considerably shorter and takes a runner approach with only 2 postcards to collect.
Postcard location 9
Postcard 9 is annoyingly acquired before Postcard 8. After separating from the rest of your fellow Spartans, you’ll wander through a few rooms in your solitary cannibal dispensation. You will eventually enter a freezing room (like a morgue).
Move through the room until you reach an area with a power box. Below and to the left of this is a crawl space. Continue through it and on the wall opposite is the postcard. (This is the same room as the Diary location.)


Postcard location 8
In the room where you save Anna from the crazed doctor, a cutscene will occur and then you’ll head towards some doors. Nestled in some pipes on the left side is the postcard.


Chapter 6 – The Caspian Postcard Locations
The Caspian is another mini open world section where you will travel from one place to another as you explore its 5 postcards.
Postcard location 10
As soon as you exit the Aurora, enter the building next to it. On the inside wall to the left of the entrance is the postcard.


Postcard location 11
The story will see you venture to a lighthouse in the north of the map. At the top you will meet a new friendly face, Guil. The postcard is immediately to his right as he enters her humble abode.


Postcard location 12
Northeast of Aurora is a ship (directly north of a fork in the train tracks according to the map). Make your way to the ship’s control room and on the right side of the main entrance is the postcard.


Postcard location 13
As you continue with the story, you will see postcard 13 before postcard 12. Move forward to the most northwestern point of the map where the oasis is located. Follow Damir down the hill and continue forward until you see a rusty truck parked outdoors. The postcard is on the inside right wall.


Postcard location 14
In the lower right corner of the map there are two structures, one of which is a hangar. Enter and fight your way through the waves of Humanimals inside to find the postcard in a box in the back.


Chapter 8 – Taiga Postcard Locations
The open world action returns to the Taiga forest environment. Although history is the driving force of this section, there are still 5 postcards on offer for those who want to stray off the beaten path.
Postcard location 15
When you regain control of Artyom for the first time after a cutscene, you’ll go up some stairs where you’ll get a crossbow. Enter the building on your right, turn left and clear the cobwebs in the adjacent room with your lighter to reveal a postcard in a cabinet.


Location of postcard 16
Continue right after you exit the starting area gate and follow the signs to the children’s camp. Continue until you find a bridge where the pirates on the other side will taunt you.
Instead of crossing, jump down the slope to your left and follow the path to the left until you enter a large house with a basement. Walk straight from the door you enter until you reach a shelf with the postcard on one side.


Location of postcard 17
As you progress through the story, you will reach a point where you zip line into a canyon. As you walk through this canyon, you will find a tunnel on your right.
Pass through the claustrophobic spaces of the tunnel to eventually emerge among a group of houses invaded by pirates. Head towards the house which is completely covered in foliage and there are two flights of stairs leading up to it. In the second room you will see postcard 17 on the left wall next to a door.


Location of postcard 18
The story path will take you to a swampy area occupied by a crazy old man known as the Admiral (and some mutant shrimp). After turning on the generators and taking the elevator to the second floor, you will enter the Admiral’s room, where you will find the postcard on the right wall surrounded by many other images.


Location of postcard 19
After navigating the dangerous underground section overrun by mutant creatures, you will meet Alyosha on a street of six houses. Make sure you don’t reach the end of the street without collecting the collectibles, as this will trigger a cutscene that will end the chapter.
Enter the middle house on the right, turn into the left room, and look toward the left interior wall to find the postcard.


Chapter 10 – Dead City Postcard Locations
For the game’s concluding chapter, Exodus resumes its more runner-style gameplay as it returns to the grim confines of the Metro system. The Dead City is where you will find the last 2 postcards.
Postcard location 20
Once in the Metro system, you will eventually pass through a space only to be greeted by your first combat encounter of the chapter. Continue to a small office to the right of where you entered and the postcard can be located between two blue lockers that are to your right as you enter.


Postcard location 21
After trudging through the Metro system with Miller for a while, you’ll encounter a new character named Kirill and eventually return to his hideout. The final postcard of the game is glued to the middle tile column holding up the room.


All ready? Be sure to pick up any remaining Metro Exodus Journal locations you may have missed!
Categories: Guides
Source: ptivs2.edu.vn