Not sure how to get to the summit? Here’s how to climb the mountain and solve the High Supply quest in Far Cry 6.
Far Cry 6’s High Supply is one of the game’s treasure hunts.
This tasks you with climbing a colossal mountain to the top, facing external obstacles, various grappling points, and a peculiar section inside a cave.
This page explains how to easily climb the mountain in Far Cry 6 to complete High Supply in no time.
In this page:
Check out 27 secrets and Easter eggs from Far Cry 6
Far Cry 6 High Supply Location
Treasure hunts in Far Cry 6 are optional activities that often involve solving environmental puzzles and putting your grappling hook to good use with some stunts inside caves or military bases. At the end of each, you will receive unique rewards, from unique weapons to weapon charms.
Here’s where you can start your High Supply treasure hunt:
- High Offer Location: Northeast of Verdera and northwest of the Palma Forest in Lozanía.


Now, let’s move on to the steps to complete the mission.
Looking for more help? If you’re just starting out, we have pages on Dani Rojas, male or female, how to complete Fuel the Revolution, how to destroy anti-aircraft weapons, and where to go first on the map. Elsewhere, we explain where to find Triada relic locations, Parting Gifts, The Long Drop, Cache Money, Rising Tide, High Supply, And the Beat Goes On, The Last One to Leave, Liquid Courage, The Missing Muse, The Emerald Skull. The Truest Yaran, Chorizo Location, Far Cry 6 Best Weapons, and GDP Oil Platform. Finally, we explain the secret ending of Far Cry 6.
How to complete High Supply and climb the mountain explained
This begins by grabbing a note found on a table on a balcony south of Corazón Alley. From there we go to the icon marked on the map, which is located west of Concepción.
This begins by picking up a note from a box next to a dead soldier in Lozanía. From there we go up. The key is to start exactly where the soldier is going up the ledge. Then, take the left path to find two more ledges, as well as a gap in the path that you’ll need to jump over after a quick sprint.


Go up one more ledge and continue straight. Then, you will come across a grappling point. Climb to the top and walk along the boardwalk to the other end. Following this path will take you inside a cave.


Look above to see another fight point. Then the next ‘corridor’ has a large space in between with a pool and some spikes. It sounds complicated, but in our experience, running and jumping to the other side worked. We fell on the spikes but took no damage, so jump forward until you’re on the other side. If you fall into the water, you can climb back up using some ledges to the left.


The next section is pretty simple: there are two sets of grapple points, so just go up and around to the outside of the cave. Fight the branches that block the exit and let’s continue moving forward.


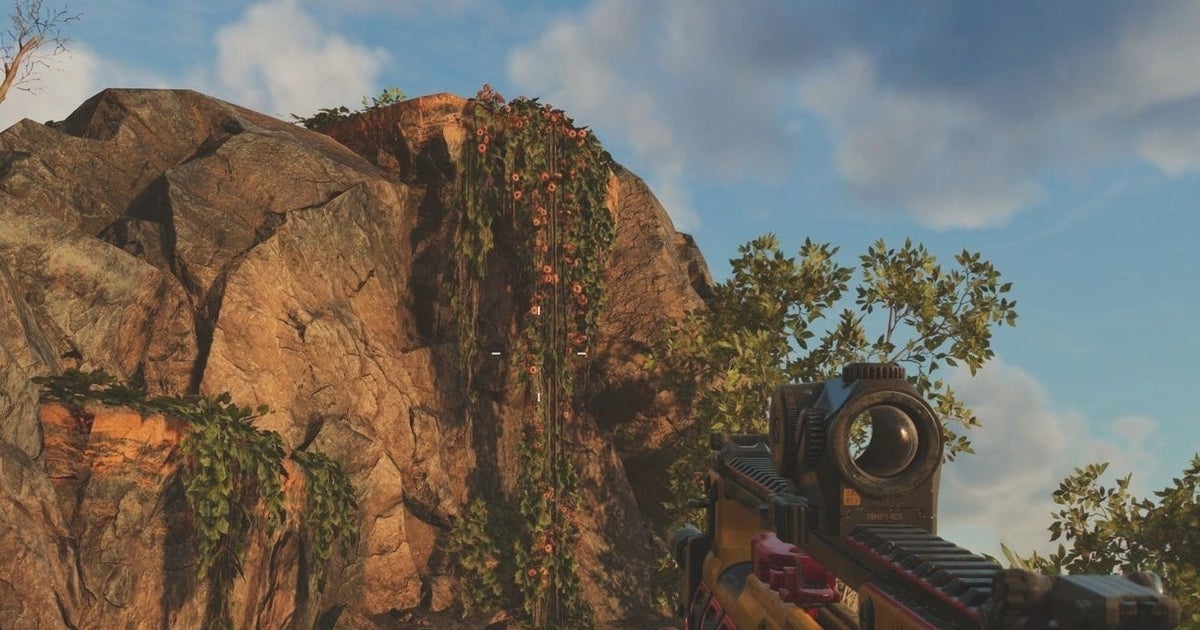
We will continue climbing to the top. To do this, go to your left after leaving the cave. You can jump over the ledges or climb up using the flowering branches, right up to you. Then, use the grapple point. You’ll end up in an area that has an orange smoke signal in the distance. Use the claw again to reach the other side.


From here we will see a pile of rocks covered by a red net. Throw a bomb or other explosive projectile at them, or simply shoot them until they clear the way. Then, use the ledges to continue climbing. This is it: the supply drop is yours and will reward you with the M16 A1 rifle.


That’s it for the treasure hunt!
Categories: Guides
Source: ptivs2.edu.vn