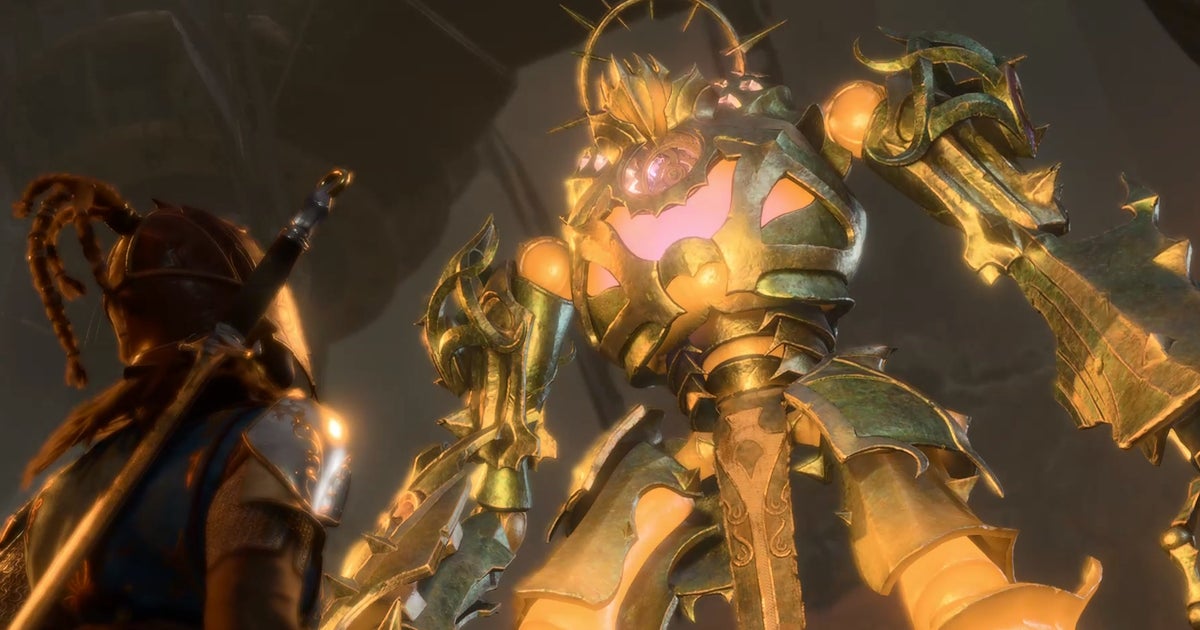
The Grym boss in Baldur’s Gate 3 appears once you activate the Adamantine Forge in the Underdark.
You must activate Forge to craft a new weapon, armor, or shield while completing the Adamantine Forge quest, but with hundreds of hit points, Grym seems like a powerful target to take down for such a small reward.
The good news is that there is actually a very quick and easy way to beat Grym in Baldur’s Gate 3. Here’s this Grym boss strategy so you can save your precious potions and get your reward in less than five minutes.
To view this content, please enable targeting cookies. Manage cookie settings
12 Awesome Baldur’s Gate 3 Beginner Tips & Tactics – How To Get The Best Start In Baldur’s Gate 3. Watch on YouTube
For more help on your adventures, check out our Baldur’s Gate 3 tips.
Baldur’s Gate 3 Grym Boss Strategy
Even on the easiest difficulty, Grym can take quite a while to take down at 210 HP, never mind on Balanced when he’s at 300 HP. This huge number doesn’t really matter though, because you have to use the environment to beat Grym in Baldur’s Gate 3.
Specifically, to quickly kill Grym you need to:
- Turn the lava valve and make sure that Grym is overheated.
- Lure Grym to the center of the Forge.
- Activate the forge lever
Using this tactic twice kills Grym on Scout and Balanced difficulties. It might take another hit or two to take down Grym on Tactician.
The best way to activate both the lava valve and the forge lever is to shoot an arrow at them. Arrows always have a 100% chance to land on these switches, and that means you can position your party behind the person pulling Grym to the center so the boss isn’t distracted by someone else.


Image Credit: Eurogamer/Larian Studios
The best way to start the fight is to ungroup with ‘G’ and then send a character that doesn’t use bows or crossbows to Lava Valve. Before turning it over, he places the other three party members in the north corner of the Forge.

Place the other three members of your party like this before turning the lava valve. | Image Credit: Eurogamer/Larian Studios
Once you’ve turned the lava valve and triggered the boss fight, use the Misty Step or run and jump to place the person who turned the valve in the mold chamber. End everyone’s turn, then watch Grym walk up to the character in the Mold Chamber.


Image Credit: Eurogamer/Larian Studios
While lava is still covering the center of the Forge, hit the Forge lever with an arrow to take a large chunk of Grym’s health. This summons a few minions, but don’t worry, they don’t have much health and are easy to take care of.
Now all you have to do is repeat the process of hitting the lava valve with an arrow, then pressing the forge lever with an arrow for one more hit to kill Grym on Scout and Balanced difficulties. You will also have to eliminate the minions to end the battle.
Once all the enemies are dead, you can finally collect your Mold Chamber reward and complete the Adamantine Forge side quest!
For more help on Baldur’s Gate, we have pages covering romance options, how to get all companions, and multiclassing.
To view this content, please enable targeting cookies. Manage cookie settings
Categories: Guides
Source: ptivs2.edu.vn