The Marakuguc Shrine in Zelda: Tears of the Kingdom can be found near the city of Goron, which is very close to Death Mountain. This Shrine will teach you more ways to cross lava safely without Link turning to ash.
As with other shrines in Zelda: Tears of the Kingdom, you’ll encounter a single enemy in this one, so we recommend bringing a weapon or two that you like and some health-boosting foods with you if you’re unsure about taking on one. them. Constructions still.
Without further ado, we will show you how to complete the Marakuguc Shrine in Zelda: Tears of the Kingdom.
In this page:
To view this content, please enable targeting cookies. Manage cookie settings
10 Things We Wish We Knew Before Starting The Legend of Zelda Tears of the Kingdom Watch on YouTube
If you want to learn more about Link’s adventure, visit our Zelda: Tears of the Kingdom walkthrough.
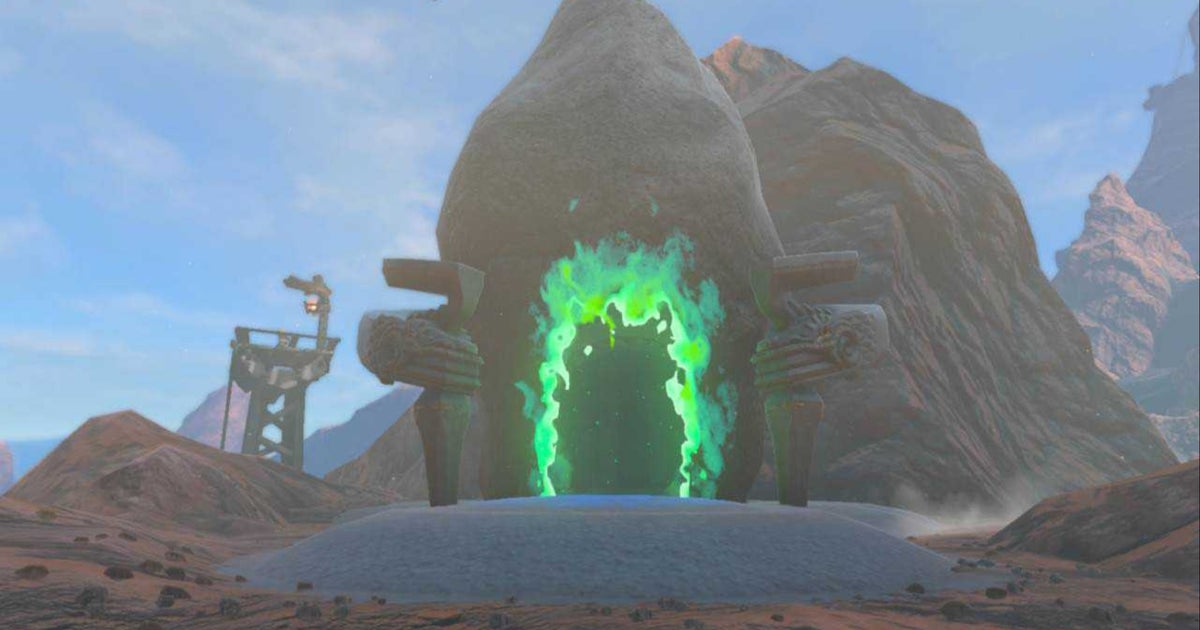
Location of Marakuguc Shrine in Zelda Tears of the Kingdom
The Marakuguc Shrine in Zelda: Tears of the Kingdom can be found in Eldin. More specifically, it’s slightly (and we mean slightly) northeast of Goron City, west of Death Mountain, north of Goron Hot Springs, and between Stolock Bridge and Goro Cave.
We have marked its exact location on the map below and the coordinates of Marakuguc Shrine are (1761, 2508, 0437).

You will not need any special armor or elemental protection to reach this Shrine.
Solution to the Marakuguc Shrine puzzle in Zelda Tears of the Kingdom
To solve the Marakuguc Shrine, you will need to use different wheeled vehicles to complete a series of puzzles and get Link from A to B without throwing him into the lava.
When you first enter the Sanctuary, look in front of you and slightly to the right. You should see a broken bridge hanging in a gap you can’t cross yet.

Use Ultrahand to connect the end of the broken bridge on the side closest to Link with the other half of the broken bridge on the side you want to get to. This will form a bridge and you can then cross it to reach the next part of this Shrine.

In the next area of the Shrine, you should see a two-wheeled device and a long broken bridge next to it.

Place the two-wheeled device on the front of the broken bridge.

Then activate the device to drag the bridge across the lava to the other side.

If done successfully, the wheeled device will cause a bridge to form over the lava. Quickly and carefully, cross this bridge to reach the third area of this Shrine.
In the next area of this Shrine, you should see two more two-wheeled devices. All you need to do here is connect both devices with the Ultrahand to create a four-wheeled device that looks a lot like a car.

Jump onto the new four-wheeled device and cross the next lava pool to the other side. However, be sure to disengage the wheels to stop the vehicle once you reach the other side or you will fall into the abyss.
Now, in this area you should see a mesh platform slightly above you leading to the next level of this Shrine. Place your four-wheeler under the platform, climb onto it, and use Ascend to traverse the mesh platform to the next area.

Once you are on the next level of the Sanctuary, you should instantly see a Soldier Construct I. Take them out however you want and progress towards the final puzzle of this Sanctuary. Here is also the chest, so let’s take it first.
In this area of the Sanctuary, you should see another four-wheeled device and a metal mesh platform on the floor next to it.

Grab the metal mesh platform with Ultrahand and then turn around until you see the chest on a slightly raised platform in the corner. Use the platform you are holding to make a ramp and use it to climb up to the chest. This chest contains a powerfully built bow.

Once you’ve grabbed the chest, head back over to where the four-wheeler is. Then, use Ultrahand to attach the metal mesh platform to the front of the four-wheeler so that it looks like the image below:

You should now see a slightly lowered area filled with small orbs. Place your newly formed four-wheeled device in front of this area and activate it. The device should start rolling towards the orb area, and the wire mesh platform you attached to it should start pushing groups of orbs through the grates and into the next area.
The area beyond the grates has a pressure switch in the middle and you must push enough orbs to activate it. In theory, you could collect the orbs one by one, but who has time for that?

It may take a few tries to get enough orbs, but once you do, the door to the Light of Blessing will open and you will have finished this Shrine.
Congratulations on completing the Marakuguc Shrine! If you want to try another one, check out our solutions guide for Kyokugon Shrine. However, if you want a complete change of pace and outfit, check out our Ghost Armor Set locations.
To view this content, please enable targeting cookies. Manage cookie settings
Categories: Guides
Source: ptivs2.edu.vn