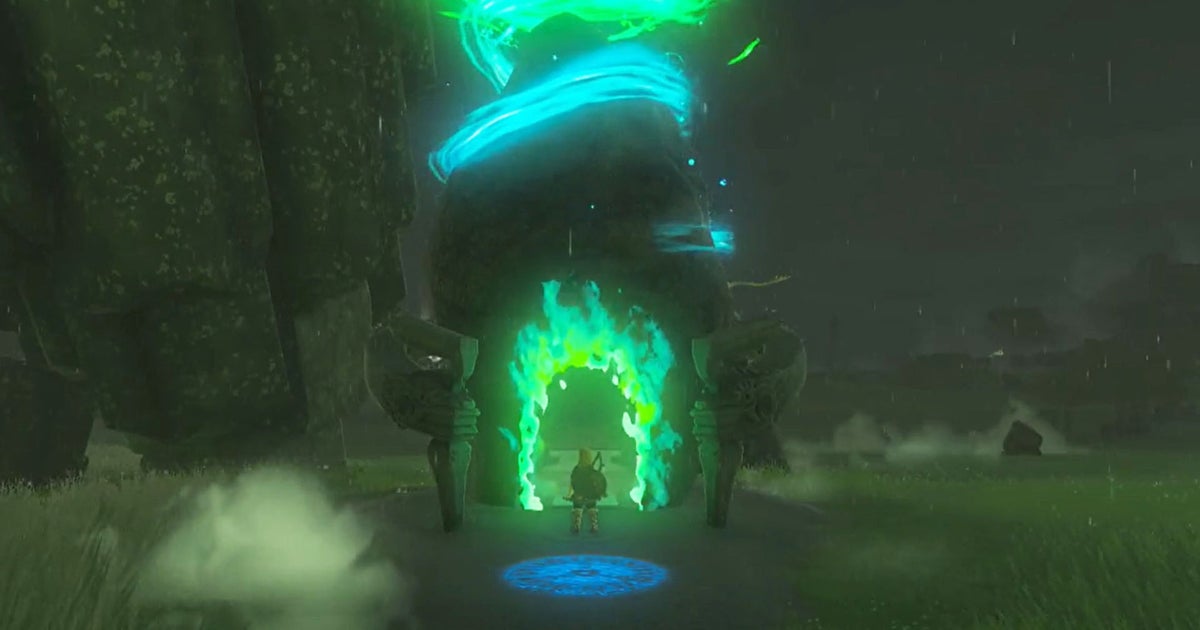
The Jiosin Shrine in Zelda: Tears of the Kingdom can be found in Hyrule Field. This Shrine is all about learning how to use rotating shapes to solve problems and learning how to move shapes to help you get from A to B.
There are many shrines in Zelda: Tears of the Kingdom, and just like the Jiosin Shrine, each one presents its own challenges that you must overcome. This one in particular depends on you having the Ultrahand ability, so you can’t complete it until you have it.
If you have the Ultrahand ability, we’re here to show you how to complete the Jiosin Shrine in Zelda: Tears of the Kingdom.
In this page:
To view this content, please enable targeting cookies. Manage cookie settings
Watch on YouTube
If you want to learn more about Link’s adventure, visit our Zelda: Tears of the Kingdom walkthrough.
Jiosin Shrine location in Zelda Tears of the Kingdom
To find the Jiosin Shrine in Zelda: Tears of the Kingdom, you need to head south from Lookout Landing. The precise coordinates of the sanctuary are (-0240, -0374, 0026).
The Shrine itself is located in Hyrule Field, directly south of the Hyrule Field Chasm. We have also marked its approximate location on the following map:

Jisoin Shrine puzzle solution in Zelda Tears of the Kingdom
When you enter the first area of the Sanctuary, head into the room to your left. You should notice a large ‘X’ on the wall that divides this room and the main area. This opening will become important in a moment.

In this room, you will find a large structure of three rectangles that have been merged together. Pick up this structure with the Ultrahand and then turn to face the wall that divides the two spaces.

Now, rotate the object until it matches the ‘X’ shape on the wall. The object must pass through this opening, so you may need to rotate it in different ways to get it into the correct shape. When you have the correct shape, use Ultrahand to push it through the wall and into the main room.

Once he’s done, join him again in the main room. Then pick up the structure again and use it to bridge across the gap to the next area. Rotate the object until two rectangles form a flat platform with a small space between them for Link to jump off. It should look like this:

Head through the door into the next area. Here, you should notice that there are rooms to the left and right, and that there is a chest hidden on a high platform at the far end of the room.
First of all, stand outside the room to your right. He turns to face the opening in the wall that divides the two spaces. You should notice a structure made of two fused cubes in this room. While standing in front of the opening, use Ultrahand to move the structure and rotate it until it fits through the opening.

Once the structure has reached the main room, turn around to face the other end of the room where the chest is. You should notice that a section of the floor has been lowered to the left of the chest area.
Turn the cube frame so that it fits snugly on this low section, with the top side of the cube frame facing the platform the chest sits on. It should look like this:

Then, jump onto each cube and head to the platform to collect the chest. This chest contains a Hasty Elixir.
Once you’re done with the chest, head back down to the main room. Stand outside the room to your right, the one with a diamond-shaped opening in the wall that divides the two areas.
Pick up the cube frame and rotate it until it matches the diamond shape of the opening. It may take several attempts to achieve this, and you may have to drop the structure and pick it up from a different vantage point.

When you take the structure into the second room, you should notice some steps leading up to a door that leads to the final area of this Shrine. However, Link cannot climb these steps.
To get here, it’s time to use Ultrahand to grab the cube structure again. Now this is where it can get a little confusing. You should be able to see a very small square platform on the floor below the entrance.

Move the cube structure to position it behind the platform, with the lowest cube on the ground furthest to the left (as far as possible from the entrance to the next area). Then the tallest cube should be closer to the entrance, but not flush with the tall platform it’s on.
You will need to have the highest point of the cube far enough away from the high door platform so that it falls diagonally and rests against this platform. Ideally, your cube structure should look similar to the image below:

Then, jump to the first angled part of the structure on your left and turn to go up the slight slope to the taller cube on your right. Then stand on the top of this taller cube and jump onto the platform with the door.
Once you walk through the gate, you will be able to collect your Blessing Light for Jiosin Shrine.
That’s all for this Shrine, we hope you enjoy the rest of your adventure with Link in Zelda: Tears of the Kingdom!
To view this content, please enable targeting cookies. Manage cookie settings
Categories: Guides
Source: ptivs2.edu.vn