The Zelda Breath of the Wild Xenoblade Chronicles quest is something new for the game: a new quest added via a free update that is used to promote another Nintendo adventure.
As soon as you boot up the game after the latest patch on Wii U or Switch, a new side quest called ‘Xenoblade Chronicles 2’ appears in your quest log. Completing this quest grants you three items to unlock the Salvager armor set.
Zelda Breath of the Wild Xenoblade Chronicles quest explained
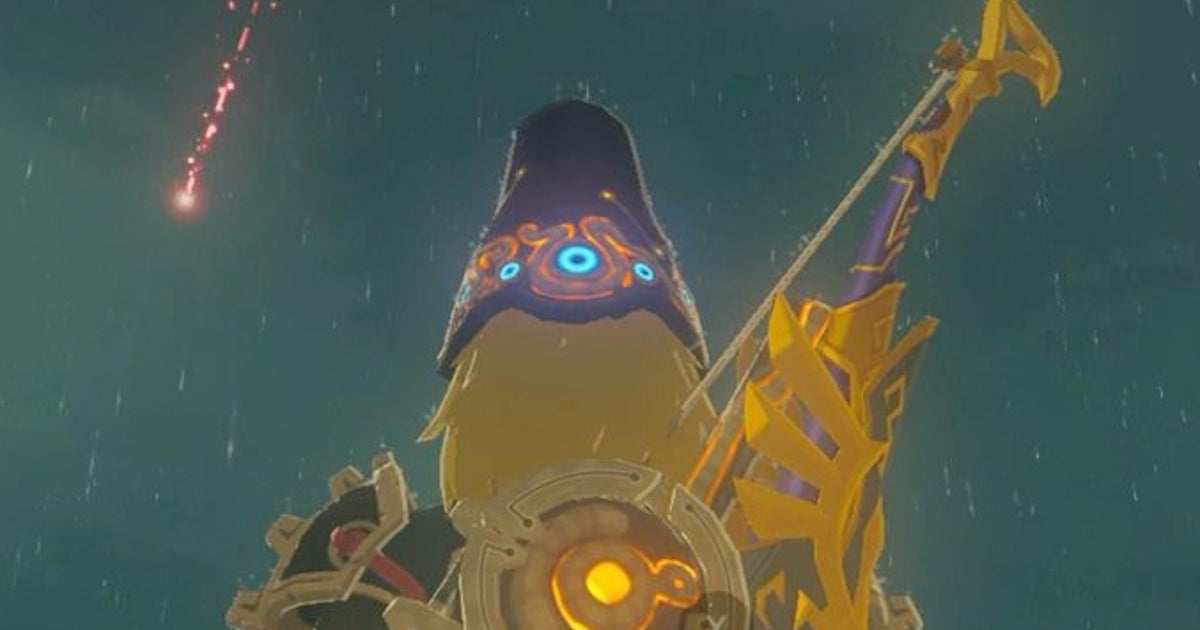
The description will give you three cryptic clues that hint at places to visit. Once you get there, look at the night sky in the mentioned direction to “find the red shooting stars.”

If you do it correctly, you will hear a specific noise and see a red trail of a shooting star in the sky. The star will land within sight nearby. Head over and you’ll find a chest with one of three pieces of armor.
It should be noted that the same rules apply as normal shooting stars: it must be at night, ideally between 9:30 pm and 3 am It is worth taking wood with you to each destination, creating a campfire (use Flint or a fiery arrow) and sit next to the camp to advance time until night.

If the shooting star doesn’t appear, walk around that spot for a bit and move the camera around the sky, and it should appear soon enough.
It’s also worth noting that a Blood Moon could affect your chances of seeing a star. We heard a star shot, but it didn’t actually appear when a Blood Moon approached, but then it appeared properly once the cutscene ended. If you lose track of a shooting star, we assume you can come back another night and try again, but if all goes well, the landing destination should be easily within reach.
Zelda: Breath of the Wild – Switch vs Wii U Comparison + Frame Rate Test
Zelda Red Shooting Star Locations: Biggest Bridge, Skull Left Eye, and Snowy Mountains Positions
You can do the following in any order. This will come in handy if you’ve already explored the game map and have nearby shrines to travel to, as two in particular are scattered in far-flung areas.
The southern sky from the center of the largest bridge.
It is located at the Bridge of Hylia in Lake Hylia, southwest of the Great Plateau. There is a hexagonal platform in the middle, and standing anywhere there should activate the star when facing south.


The star will fall just southeast of the bridge, on the water’s edge. Open the chest that appears for Salvager Headwear.


The eastern sky from the left eye of the skull.
This refers to Skull Lake northeast of Death Mountain. Although the game says left eye, you should in fact stand to the right, to the east, on the tall column where the Zena Kai shrine is. (This is probably because that is left from the “perspective” of the skull, if that makes sense.)


Once there, look east. You may have to move the camera or change your position around the Shrine, but it will soon appear if it’s the right time of night.
The star will fall just to the east. Slide and run towards him; There are some unpleasant things that appear along the way, but you can ignore them. Open the chest to get the Saving Vest.


The southeastern sky from the top of the tall, pierced snowy mountain.
This is on top of Hebra Peak in the northwestern Hebra region of the game. If you’ve already explored the region and activated its shrines, it’s right above Goma Asaagh, although since that means you have to run all the way, we recommend fast traveling to Shada Naw and then approaching the mountain from the north, where it’s a climb much easier.


You know you’re in the right place because there’s a rock with a Korok seed on it. Now look towards Hyrule Castle and the shooting star will fall there.

Slide down and open the chest to get the Salvager Pants.


Thanks to a new update, it is now possible to play Zelda Breath of the Wild in virtual reality. Do you want help with the main game? Our Zelda: Breath of the Wild walkthrough can help you complete Divine Beasts Vah Ruta, Vah Rudiana, Vah Medoh, and Vah Naboris and more. It’s also explained how to get the Master Sword, Hylian Shield, and all Zelda Captured Memories and Great Fairy Fountain locations, while our Shrine locations hub and Shrine maps explains where to find and solve each puzzle room, including locations. of dragons and the solutions of Labyrinth. We also have a DLC 1 guide and a DLC 2 guide, including all of the Tingle, Majora’s Mask, Phantom, and Midna outfit locations.
Zelda Breath of the Wild Xenoblade Chronicles Quest Reward
Once you have all three, the Salvager set is yours. The description of each piece says:
“Essential equipment used by a boy searching for sunken treasure in the Sea of Clouds. They are quite a rare find.”

Each gives you a boost to swim speed, not unlike the Zora armor you pick up during the main story, and all three equipped at once provide the bonus of increased stamina in Swim Dash.
Categories: Guides
Source: ptivs2.edu.vn