Uncharted: The Lost Legacy Hoysala Token locations are one of many things that can be found in the game, but it serves a greater purpose than most other collectibles.
Spread across the game’s four vast chapters, finding them all will unlock a unique item, the Queen’s Ruby, which will then help you narrow down the location of other collectibles elsewhere. It is an essential find for any trophy fan.
If you’re looking for other Uncharted: The Lost Legacy collectibles, we have treasure locations, photo opportunities, lockboxes, and optional conversations.
Uncharted 4 + The Lost Legacy: Remastered PS5 Visual Updates + 60/120 FPS Modes Tested!
Uncharted: The Lost Legacy Hoysala Token Locations
The first Hoysala token can be found in the upper right corner of the map that Chloe carries with her.
Hoysala Sheet 1
Leave the jeep at the gates, go through the gate and then head right through another open gate. Interact with the switch in front of you to open the door to your right. Chip number one will be waiting.


Hoysala Sheet 2
The second tile can be found just south of the first on a raised area with a stone hut. Climb to the top of this hut and look down to see a large seal on the ground. Press L1 to launch your grappling hook, then jump over the ledge to release the seal. Go down the well and find the token on your right.


Hoysala Sheet 3
The third Hoysala token can be found northeast of the second. Look for a temple structure built into the side of the cliff (you’ll know you’re in the right place because there will be a lot of bells outside).
Climb to the top, pull out your favorite weapon, shoot the bell at the top as you turn around, and hit each of the other six in any order. Pick up your Token from the room that opens.


Hoysala Sheet 4
To add the fourth Hoysala token to your treasure cabinet, head south and then follow the nearby river upstream to the east of the map. Climb a cliff to the right of the river’s source to find a covered platform.
Use your grappling hook to swing to the first pedestal, slide to the second, and then to the cave entrance. Follow it to find the token inside.


Hoysala Sheet 5
The next tile on your list can be found at the bottom of the map, near a large bridge. The first time you visit here you will encounter a group of Asav’s thugs, so take them out. Now throw a grenade at the broken raised wall. Continue through the hole you made to grab the fifth token.


Hoysala Sheet 6
The sixth token on the list can be found west of the previous two collectibles. Get off the jeep and climb the stone cliff with the Assassin’s Creed style wooden ledge jutting out.
Climb up to the ledge and then use your hook to reach three consecutive grapple points. Go past the safe, turn two more times, throw a grenade at the broken wall, and collect the token inside.


Hoysala Sheet 7
Head to the west of the map and towards the largest body of water. Look for an elephant statue. Hidden near its trunk is a hole that leads to an underwater chamber.
Dive down, turn right, and go through the opening. Head to the surface to find your next token waiting for you.


Hoysala Sheet 8
The eighth Token to add to your collection must be delivered north of the previous one.
The first time you visit this large elevated area it will be filled with mercenaries. Take them all out and then use a rocket launcher/grenade/gas canister to blow up the broken wall. Inside is… you guessed it… another Token.


Hoysala Sheet 9
The next Hoysala token is the most complicated one yet and involves many clashes in a particular order. Climb to the top of the middle structure and press the button on the raised dial. Many water sources will appear around you.
Head in the direction shown in our second screenshot and go through each one counterclockwise. Return to the dial you started from before time runs out to take your Token.


Hoysala Sheet 10
The tenth and penultimate tile in this area can be found towards the center of the map. The first time, as always, the place will be full of thugs.
Once they’re all toasted, head to a familiar broken wall near the truck.


If the wall is already gone and the chamber is empty, you’ll need to check the safe in the back of the truck. It’s another easy lockpick, so open it to find more grenades, another new weapon, and your tenth Hoysala token.

Hoysala Sheet 11
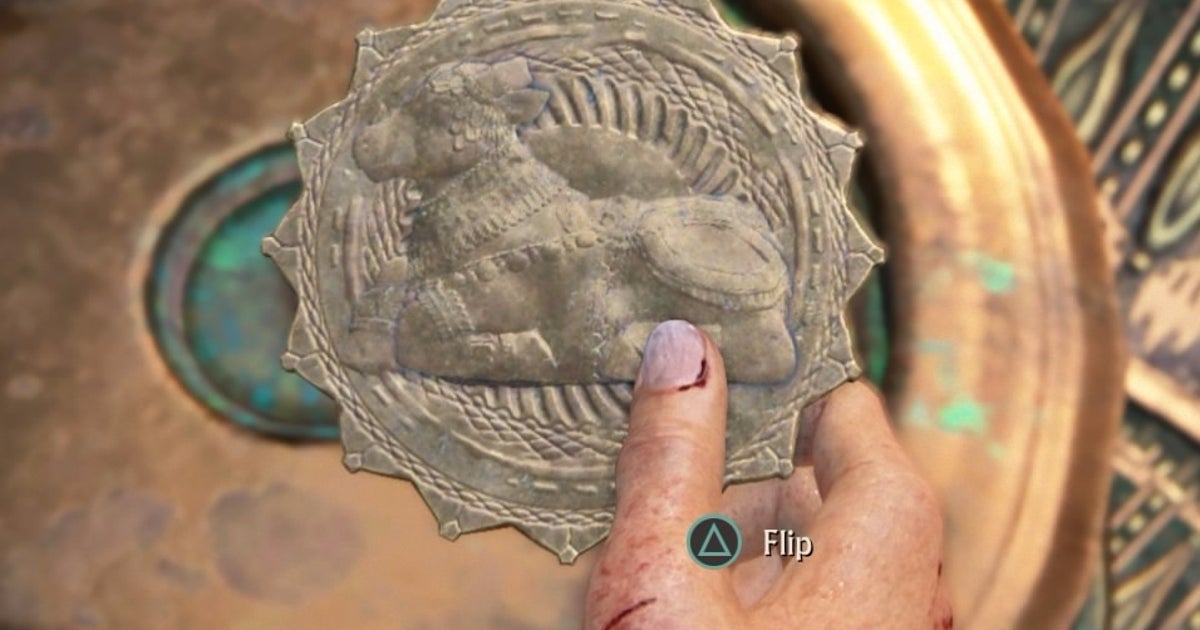
The eleventh and final Hoysala token can be found at the top left of the map. Look for a structure built into the side of a cliff with a pedestal outside (it should contain a stone horse). Go up, go through the door and turn left. You will now need to complete a short ring puzzle that requires you to move the missing pieces to each side of the disk to complete the picture. It’s easy and once completed you will have your final Token.


Where to unlock Queen’s Ruby in Uncharted: The Lost Legacy
To get your reward for all that token collecting work, turn left away from the langurs and return to the chamber where you collected your first token.
Interact below the map to enter all the tokens and collect the ruby.


This will play through your DualShock 4 whenever you are near a collectible from now on.
Categories: Guides
Source: ptivs2.edu.vn