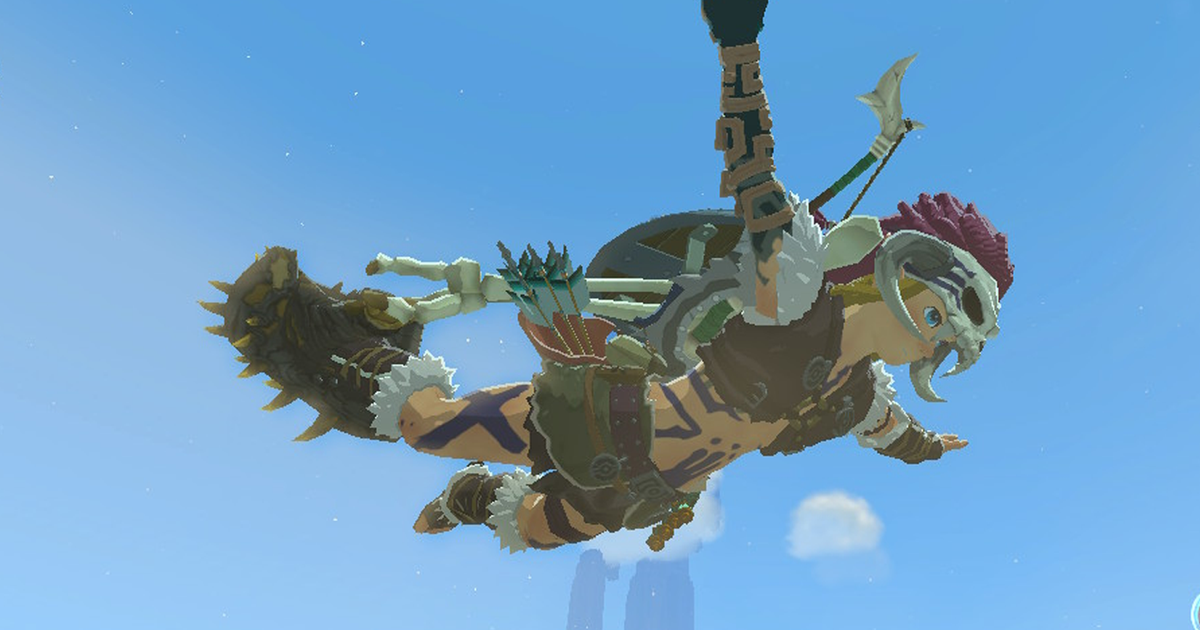
The Barbarian Set is one of the best clothing sets to increase Link’s attack in Zelda: Tears of the Kingdom.
When exploring Hyrule and facing its dangers in Zelda: Tears of the Kingdom, you must be prepared for all possible situations. The best way to do this is to have good equipment that can improve some of Link’s skills and traits. For example, get the Frostbite T-shirt to increase Link’s attack when he is in cold places.
Now, if you want the set that will increase your attack for every situation, read on to discover not only the exact location you need to go to, but everything you need to know about how to get the Barbarian set in Zelda: Tears of. the kingdom.
In this page:
barbarian armor
barbarian helmet
Barbarian leg wraps
To view this content, please enable targeting cookies. Manage cookie settings
10 Things We Wish We Knew Before Starting The Legend of Zelda Tears of the Kingdom Watch on YouTube
If you want to learn more about Link’s adventure, visit our Zelda: Tears of the Kingdom walkthrough.
Barbarian armor location in Zelda Tears of the Kingdom
The Barbarian Armor is located in the Crenel Hills Cave (0488, 0730, 0041), northeast of the lookout. The easiest route to get to the Crenel Hills cave is by following the road that runs northeast of the Viewpoint. Once you’ve crossed the bridge, continue north. The region is quite easy to explore, so you can easily reach the location at the beginning of the game.


Image Credit: Nintendo
One of the ways you can learn about this place is by talking to Meeshy (1293, -0831, 0070), an NPC you find near the Sahasra Slope Skyview Tower. She marks on your map the location of three treasures that belonged to Misko, a famous bandit. By following her advice, you will be able to find the chest piece of the climbing equipment set and the barbarian armor.

Image Credit: Nintendo
How to get the Barbarian Armor in Zelda Tears of the Kingdom
Because the cave where the barbarian armor is located is quite simple, it is quite easy to get it. First, once you enter the cave, keep going until you see two spears at the edge of the path you are on.

Image Credit: Nintendo
Look in the direction the spears are pointing, go down to the bottom of the cave, but continue to the left, near the wall. If you get into the small pond in the middle of the cave, you’ll awaken a Stone Talus, which is a tough enemy to take on if you’re just starting your adventure.
Continue to the left until you see a pile of rocks sticking out from the rest of the wall. Now, all you have to do is explore these rocks. One option is to combine an arrow with a bomb flower and shoot the rocks. There are some of these flowers near the wall where the rocks are if you find yourself with empty pockets.

Image Credit: Nintendo
With the passage open, you’ll just have to climb the wall and go through it. Inside you will find the chest with the barbarian armor.
Barbarian Helm Location in Zelda Tears of the Kingdom
You can find the Barbarian Helm in the Robred Dropoff Cave (2493, – 1479, 0014), southeast of Kakariko Village. One route you can use to get there is to continue east from Kakariko Village and then slide south into the Phalian Highlands.


Image Credit: Nintendo
The cave entrance is in a lower region, so coming from a higher location is probably one of the best ways to get there if you haven’t progressed too far in the game and haven’t increased your stamina. You’ll know you’ve found the right spot when you see lots of small rocks clustered in the area.
How to get the Barbarian Helm in Zelda Tears of the Kingdom
To get the Barbarian Helm, you must solve a puzzle inside the Robred Dropoff Cave. Within it, there are many paths and your job is to find the right one by following the right rules. If you want a tip that won’t spoil the cave for you, then you should pay attention to the statues.
Now, here’s how to solve the puzzle in Robred Dropoff Cave. Right at the entrance to the cave, there is a message written on a stone that says: “Treasures sleep beyond the path shown by the stone statues.”

Image Credit: Nintendo
Continue and you will find a large area where there are a few paths to choose from and three statues in the center. The correct choice in this room is the last path on the right side of the cave that the statues are facing.
The next room repeats the same structure, but now there is a circle of statues and a couple of blocked paths that you can open by destroying the rocks. Again, the correct choice is to follow the path towards where the three grouped statues are facing each other. In this case, clockwise, it is the second path: the first path blocked from left to right.

Image Credit: Nintendo
While you can easily destroy the rock wall with a flower bomb, brute force your way up with a weapon fused with one of the stones you find lying around is also an option. Either way, after leaving enough room to pass, continue on to the next area.
Your next challenge is to first deal with a group of Bokoblins. To speed up the process you can shoot the cannon next to them. If you don’t have strong equipment or a good amount of health to confront them directly, you should stay on the highest ground from where you can shoot arrows or lure the remaining enemies there one by one so you can deal with them more easily. .

Image Credit: Nintendo
Once the room is clear, all you have to do is destroy the rocks that close a hole in the floor. And yes, you need to throw yourself into it. But first pay attention that there are two statues in front of a passage with a gate. Your goal is to enter through the other side. Now you can slide into the hole.

Image Credit: Nintendo
There is only one path you can follow from here and it leads you to a room with three sets of statues in front of stone platforms each. Go to the one on the right where there is a group of three statues and use the Ascend skill. You end up in the room with the chest, so go and grab your new gear!
Barbarian Leg Wraps Location in Zelda Tears of the Kingdom
Barbarian Leg Wraps are found in the Walnot Mountain Cave (3931, -2066, 0129). This cave is located in the southeast area of the map. Once you’ve found Kakariko Village, continue southeast until you find Hateno Village. The cave is to the east, next to a small lake south of the Retsam forest.


Image Credit: Nintendo
Walnot Mountain Cave is by far the most challenging cave that you have to reach far, due to the strong enemies lurking inside. Some can easily kill you with a single swing of their weapons. So the option, if you’re not strong enough to take them on, is to simply run your way through the cave and avoid their attacks.
How to get the barbaric leg wraps in Zelda Tears of the Kingdom
Once inside the cave, there isn’t much you can do. Right at the entrance you can see that the path forks into one to the left – which goes to a lower area – and another to the right – which continues going up.

Image Credit: Nintendo
You want to follow the path to the right, but as soon as you start following it, some enemies in the area will spot you. As we said, the enemies in this cave are quite strong for those who are at the beginning of their adventure. So the best option is to just ignore them.
As you advance along the path you will notice that the temperature is dropping. You don’t need to worry about that, but pay attention to a specific place where there is a large ice rock with a frozen enemy inside. In front of him, there is an Ice Like Like that shoots icy clouds.

Image Credit: Nintendo
What you need to do is jump from the edge right next to Ice Like Like to reach a hole in the wall.


Image Credit: Nintendo
Inside, you’ll find a small shrine with a chest containing the Barbarian Leg Wraps. However, it’s frozen! So you need to use fire to get it out of the ice. Which method you are going to use to create fire is completely up to you, but if you want a couple of suggestions, you can place wood next to the chest and set it on fire using a flint stone or simply shoot a combo arrow. with Fire Fruit.
And with that, you have all the pieces of the Barbarian Set and, if you want to learn more about Link’s adventure, visit our Zelda: Tears of the Kingdom walkthrough.
To view this content, please enable targeting cookies. Manage cookie settings
Categories: Guides
Source: ptivs2.edu.vn