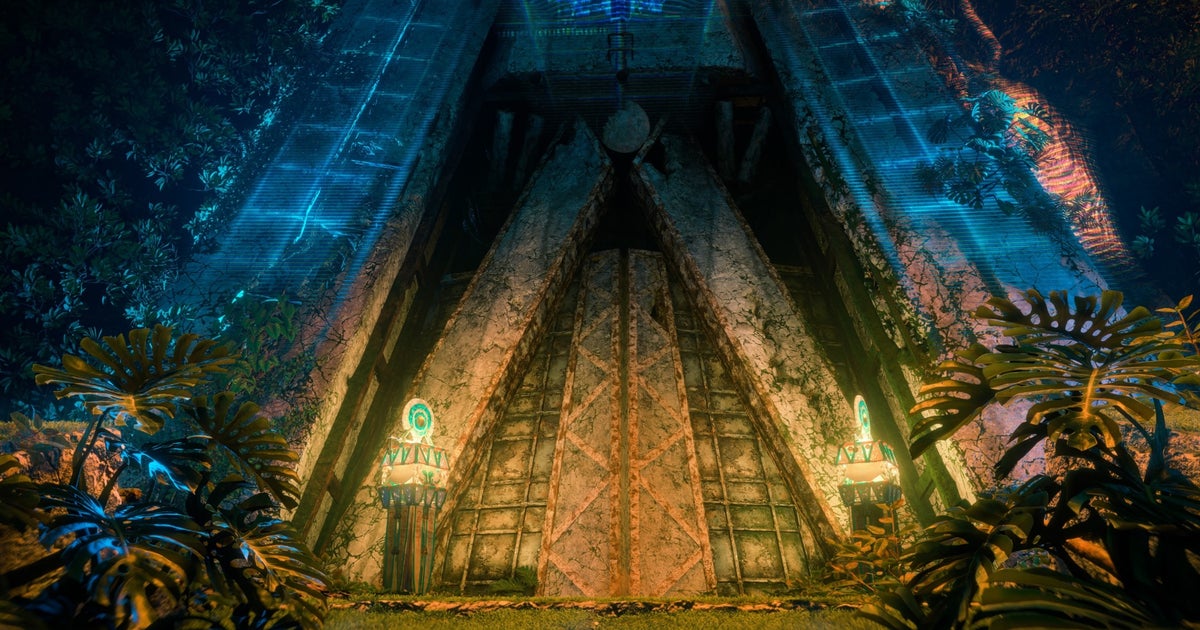
Finding the armory and opening the volcano gates in Horizon Forbidden West Burning Shores is part of the main story quest ‘For His Amusement’. In this mission, Aloy and Seyka have tracked down their enemy, but they are hiding inside a “Volcano” behind closed doors.
Horizon Forbidden West Burning Shores takes place after the final mission of the main game. Aloy ventures to Burning Shores to pursue a new enemy while he fights new machines and makes new friends along the way.
Without further ado, we’ll show you how to find the Armory and open the Volcano Gates in Horizon Forbidden West Burning Shores.
Spoilers below: This guide is for one of the main quests in the Burning Shores DLC for Horizon Forbidden West. There are possible spoilers for the ending of the main game and the DLC.
In this page:
Horizon Forbidden West: Burning Shores Launch Trailer.
How to find the Armory in Horizon Forbidden West Burning Shores
The first thing you should do after approaching the volcano doors and discovering that they are closed is find the Armory. We have marked its location on the map below:

To find the Armory, stand outside the theme park’s hologram map, just outside the volcano gates, and look up at the volcano itself.

Then, turn to your right and follow the path here (but keep an eye on your right as well). You should see an opening in the metal structure that leads to an area filled with dinosaur holograms. There will be some Devotee Quen here, you can sneak past them or take them out.
Once you are near the dinosaur holograms, look up and around you. You should see a tall building with a hologram that says “Armory.” This is where you should go.

Go through the now open doors of the building and look to your right. There will be a locked door that can only be opened with a key, which is currently in Fedder’s hands.
Do you need help completing the Burning Shores DLC? Check out our main quest guides that show you how to disrupt the tower weapon, find the door code in Heaven and Earth, how to find the Achievement words, disable the lock, and how to find the Armory and open the doors of the Volcano. If it’s a side quest you’re stuck with, check out our Splinter Within and Friend in the Dark walkthroughs. We also have guides to show you all the aerial capture locations, plus a tour of Cauldron THETA and Murmuring Hollow.
How to Find Fedder’s Key in Horizon Forbidden West Burning Shores
To get Fedder’s key to open the armory doors in Horizon Forbidden West Burning Shores, you must locate Fedder in the attraction called ‘Raptor Raid’. We’ve marked its location on the map below since the quest marker disappears when you enter the area:

The mission marker will take you to the difficult area of this attraction. Then, exit the Armory and follow the marker until you reach the section of the park where Raptor Raid is.
When you reach this area, keep walking until you see a large dome-shaped building with a hologram that says “Raptor Raid.” Head inside this building and follow the path to your left.

Watch the scene that follows once you’re inside. When this is over, prepare for a fight. Devotee Quen will focus on you and Fedder is here too. All you have to do is kill Quen’s guards and kill Fedder to get the key from him.
Once Fedder is down, loot his body to grab the key. Then, he returns to the Armory. He use the key on the console next to the closed door and the door will open, which is the first step to opening the volcano doors.
How to open the volcano doors in Horizon Forbidden West Burning Shores
Once you’re through the closed doors of the Armory, follow the path to your left. As you follow this path, you will need to use your focus to investigate various items of interest that unravel Londra’s true and devious intentions.

Scan all the highlighted items in the first room and once you do, the doors in the second will unlock. Follow Seyka to the next room.
The door to this room is locked, but there is another way around it. Look toward the closed door and look to your left. Behind the stack of boxes is a grate covering a vent in the wall.

Use your Pullcaster to remove the vent grille. Once it’s off, head inside the vent and follow the path to the next room.
Once you are in the next room, you will see a large medical chair. Behind this chair is a console. Get close to this and interact with it. Aloy will learn that he needs to restore power to the room.
To do this, stand in front of the console and then head into the room to your left. Your quest marker should also guide you to this area. In this room, look for the console with the Energy Cell. Pull the lever to the left of it.

Next, you will learn that you need to find a new power cell.
How to find the power cell to open the volcano doors in Horizon Forbidden West Burning Shores
To find the power cell, return to the room with the medical chair inside. Head left through the opening to the area that looks like this:

Then look to your left again and you should see a small opening in the rock. Crouch and go through here.

Here, head to the first cell on your left. When you enter this room, there will be Firegleam on the wall to your left. Light it up and step back as it explodes. This will create an opening that you will need later.

Then, return to the hallway and head to the second cell. When you are in the small hallway of the second cell, look to your right. You should see a broken window leading into a room behind a closed door.
Turn around to look out the window (in the direction you entered the room). Use your Focus to scan the room through the broken window and you should see an attraction point that you can use your Pullcaster on.

Use your Pullcaster at this point by aiming it and shooting it at the point through the window. Then, pull it as you normally would to knock down the wall it’s attached to.
Now, return to the hallway and then head left towards the third and final cell. Walk through the opening at the back of this cell and enter the next room.
Once you are here, the Power Cell will be to your right.
Replace the power cell
Pick it up and return to the first cell, the one Firegleam had. Walk through the opening here and head right, back to the room with the medical chair.

Then, head to the back room and replace the fried Energy Cell with the new Energy Cell. Once you have done this, return to the room with the medical chair and walk over to the chair to view the recording.
If the recording doesn’t start for you, as it didn’t for us, restart the game from the previous save file. This should only take you back to the time you picked up the power cell.
Watch the recording and interact with the console behind the chair. Follow the conversation that occurs after this to find an unlikely helper. Once this conversation and cutscene are over, the doors to the volcano will open.

Now that the volcano doors are open, you can run there with Seyka to find out if the enemy you are looking for is really inside. Good luck!
To view this content, please enable targeting cookies. Manage cookie settings
Categories: Guides
Source: ptivs2.edu.vn