Building a custom mechanical keyboard can be a complicated and expensive task, but it’s very rewarding once you’ve created something uniquely yours that stands out on your desk and is better for gaming or working than a standard keyboard you can buy for around £. 150/$150.
Thanks to manufacturers like Royal Kludge, Redragon, and Akko, there are some really good keyboards and keyboard parts that allow you to create an entry-level custom mechanical keyboard for less than pre-built gaming keyboards, which will probably be better. that they too.
In this guide, we’ll highlight some of the best budget mechanical keyboards you can customize and go over the easy and inexpensive customizations you can make to create your own mechanical keyboard that’s perfect for you.
Keyboard sizes

Before you start customizing a keyboard, you’ll need to decide what size keyboard you want to have. There are five main keyboard sizes that people use and a few other harder to find sizes. These are the five main keyboard layouts and how they differ:
- Full size: The traditional keyboard layout with around 104 to 108 keys, depending on region.
- Tenkeyless (TKL): Also known as 80 percent keyboard, this eliminates the numeric keypad from the full-size layout.
- 75 percent: Probably the most popular size in the custom keyboard community, this form factor has no navigation or editing keys, but retains the function keys and arrow keys.
- 65 percent: the main typing keys, the number keys and the arrow keys. Function keys are accessed using different key combinations.
- 60 percent: Same as 65 percent, but with one less column, so often no arrow keys.
Customizable mechanical keyboards

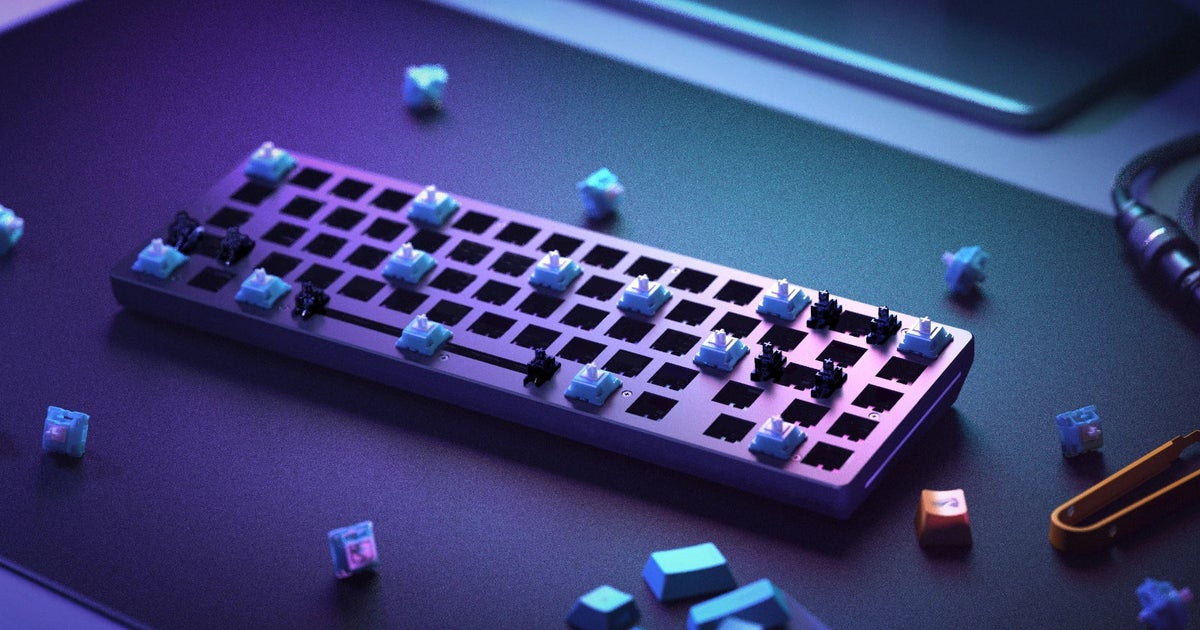
Virtually any mechanical keyboard is customizable, but some are harder to customize than others. When looking for a keyboard to customize, ideally it should be hot-swappable, meaning that the switches on the keyboard PCB are not soldered and can be removed using a switch puller and replaced with a different switch. However, hot-swappable keyboards tend to cost more than wired alternatives.
For your first custom mechanical keyboard, we suggest purchasing the Redragon K552. It’s a ten-key, hot-swappable, RGB-enabled wired keyboard that costs around £40/$40 and is often discounted too. It’s very popular in the custom keyboard world due to its low price, so we recommend it to anyone just starting out.
If you want a keyboard with a different form factor, Royal Kludge has a huge variety of keyboards with all form factors available. Their keyboards also go on sale quite frequently; You can find a list of them in the UK in this article and explore the RK range in the US here. Keychron is another great manufacturer of hot-swappable mechanical keyboards at a good price.

If you have a set of keycaps or a switch in mind, you can save some time and money by purchasing a basic keyboard kit. These come without switches or keycaps, so there’s no need to remove anything – just attach the switches and keycaps you’ve chosen. This is a little more expensive than buying a K552 or RK68 and modifying it, but you have a wider range of modification options and the base level of quality is usually higher.
We recommend the 65 percent LK67 kit, also known as TM680. Glorious also makes a line of excellent DF-recommended starter kits, the most recent being the high-end GMMK Pro and the more affordable GMMK 2.
How to Remove Switches and Keycaps from Mechanical Keyboard

Once you have your keyboard, you’ll need to remove the keycaps and switches so you can add your own upgrades. To do this, you will need a keycap puller and a switch puller. The K552 comes with a cheap key puller which is fine, but it’s best to get your own. You can get a keycap and switch remover with some cleaning brushes for £7/$7 here in the UK and here in the US.
With these, simply lift the switch key using the wide end of the tool, moving it from side to side as you do so. For switches, use the smaller end and place the two prongs between the switch and the PCB to push small tabs into the switch. Lean over the top with your arm above the switch and pull up with a good amount of force and the switch should pop out. You are now ready to add your custom switches and keycaps.
The best budget switches for your mechanical keyboard

Inexpensive keyboards like Redragon and Royal Kludge come with Outemu switches, which are inexpensive 3-pin plug-in switches. This often means that the PCB of these keyboards only fits other 3-pin switches, preventing you from using high-end options like Gateron and Cherry switches. That doesn’t mean you can’t get a major switch upgrade on a budget, thanks to Akko’s range of switches.
The two main types of Akko switches are linear and tactile. Linear switches are quieter and require less force to activate a response, while tactile switches require more pressure and have a louder, more classic typing sound. Akko has a lot of switches, but there is a great video from Consumer Tech Review that covers each Akko switch and what they sound like. Below are some Akko switches that are on sale, watch the video and use the timestamps to see how they sound and which ones you like best.
UNITED KINGDOM USA
These switches come in packs of 45, so you’ll need to purchase at least 2 to fully fill your keyboard. Of course, there are many other switches available from the likes of Gateron, Kailh, etc.; Simply check the pin count to ensure they will be compatible with the board you choose.
The best cheap keys for your mechanical keyboard

The easiest way to make a cheap keyboard sound better is to change the keys. Most keyboards come with fairly cheap ABS keys, which are made of a thin, shiny plastic that can wear down over time and don’t sound or feel great. PBT keycaps are a common upgrade because they are made with a denser plastic that will make your keyboard sound and feel ten times better, and they have double-shot keycaps, meaning the letters will never fade. Below are some good value PBT keycap options for your new keyboard.
If you plan to buy keyboard and keycaps at the same time, it may be worth opting for a US layout even in the UK/EU as there are an order of magnitude more keysets available. If your keyboard layout is set to UK in Windows, you’ll still have access to the pound sign, you’ll just have to mentally adjust to some keys being in different places.
Before purchasing, make sure the key layout matches the layout of your keyboard, and be wary of some older mechanical keyboards that have non-standard bottom row layouts. Generally, US-style ‘ANSI’ keysets are more commonly available than UK/EU-style ‘ISO’ keysets, but some keysets will include additional keycaps to accommodate both layouts. This applies to smaller keyboards as well, which often take more liberties with the design and are therefore harder to find key sets for.
UNITED KINGDOM USA
Even the cheapest PBT keycaps are an improvement over standard ABS keycaps. Make sure you get the right number of keys that match your keyboard and have the correct layout; whether it is the United Kingdom or the United States.
How to change your keyboard stabilizers

Another mod that is a little more complicated than changing switches and keys, but not very expensive, is changing the keyboard stabilizers. These are the metal bars that go under the larger keys, like the space bar and shift keys, which ensure that you press the switch wherever you press the key.
If the space bar or tab key on your keyboard makes a lot of noise when you type, it’s probably because the stabilizers are not very well made and do not fit well enough on the PCB. Fortunately, you can take them out very easily and replace them with better ones that fit better. The best budget plate mount stabilizers are Durock stabilizers, which cost around $15, and there are similar versions easy to get in the UK for around the same price.
When you have removed the keycaps and switches from the keyboard and have a nearly empty PCB, simply press the small pins on the bottom of the stabilizers to remove them from the PCB. Then just snap the new ones into place. They may be a little difficult to fit, just apply some gentle force to make them snap into place. The tighter the fit, the less room there is for them to vibrate. You can make even more modifications to your stabilizers by lubricating them or modifying them with tape, but we’ll keep it simple for now and it will be a nice upgrade anyway.
Ending
The great thing about this hobby is that you have complete autonomy over the use and appearance of your keyboard. If you want to forego changing stabilizers and instead use that money for better keys, go ahead! There are more premium options for switches, keycaps, stabilizers, and PCBs, so shop around for what’s available that fits your budget and then use this guide on those parts. If you’re not ready to do it all at once, you can make one modification now and another in a month or two.
This should prepare you well for your first custom mechanical keyboard. If you’re still on the fence about customizing a mechanical keyboard, read why it’s worth using. Once you’re happy with your new keyboard, make sure it’s placed on a desk pad from our guide to the best gaming mouse pads to ensure you hear it properly.
Categories: Guides
Source: ptivs2.edu.vn