Find Virgil in the shining sea
Before leaving Doctor Amari’s office and embarking on the next stage of your adventure, loot the room for medical supplies. Grab the RobCo Fun Magazine from the western table (add the Grognak the Barbarian Holotape Set to your inventory) and then leave the area.
Go up the stairs and once you return to the stage, go up the stairs directly ahead. Enter the room on the left and hack Irma’s terminal to learn more about her clients. Next, attack the first aid box in the adjacent room and then return to the stage below.
Fallout 4: 11 Cool Locations You Might Have Missed – Fallout Friday
talk to nick
Join Valentine at the north door and talk to him. You’ll notice a change in his tone, so she asks about Kellogg and sees if he has any ideas on how to approach the Shining Sea. Finally, she decides if you want Nick’s company while you look for Virgil; We’ll take him with us, so he considers doing the same. Once Nick stands up, he will ask you if you are okay; He concludes the conversation and prepares to leave.
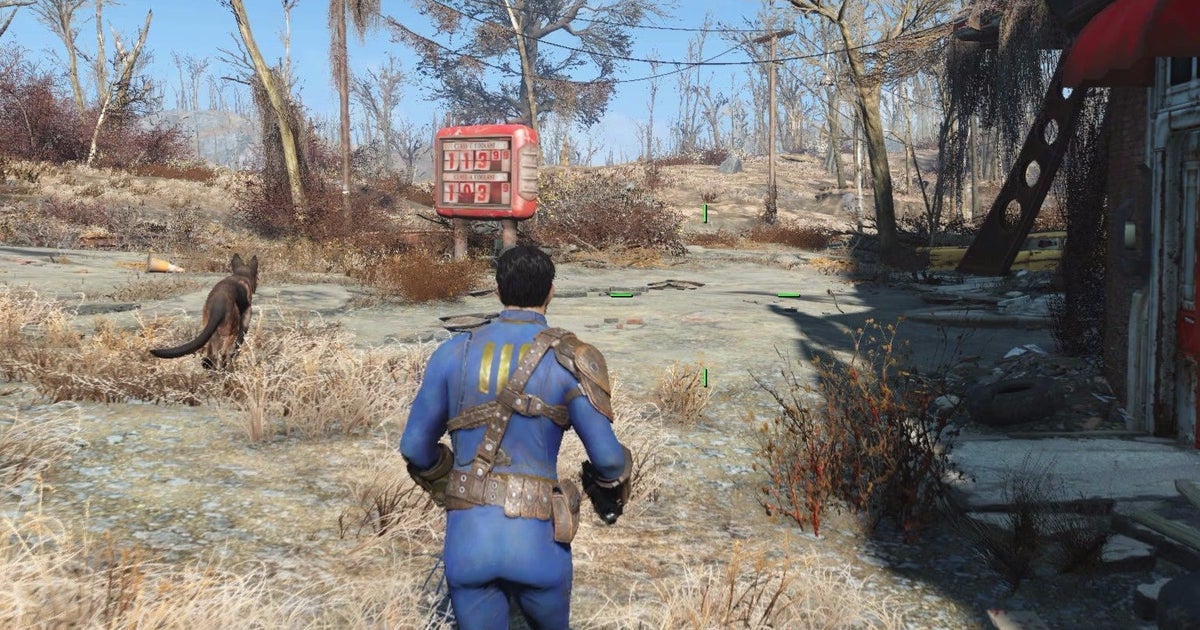
When you’re done, exit Memory Den and return to the street. The Shining Sea is located a considerable distance southwest of your current position, so you have a long journey ahead of you. However, before you embark on your journey, you will need to ensure that you are adequately prepared for the radioactive dangers that await you.
You’ve already acquired a reasonable selection of medications from Dr. Amari’s office, so next you’ll need to find a decent hazmat suit. Luckily, there’s a store in Diamond City that can help, so open your map, fast travel back to the Diamond City Market, then locate Fallon’s, directly west of the Power Noodles bar.
Go down the stairs and enter the building through the red door at the end. Inside, approach the woman behind the counter and assure her that you are not a thief. Next, select the barter option and scroll down the list until you find the hazmat suit. With a radiation damage resistance of 1000, it’s exactly what you need.
If you have cash, select the suit and confirm the operation immediately; Otherwise, you will need to increase your funds before you can continue. When the suit is yours, exit the store, open your map, and fast travel to Fort Hagen.
Upon arrival, we follow the road south until it disappears into the undergrowth. Head out into the wild and begin traveling southeast across the rolling landscape, using the objective marker as a guide. From this point on, keep an eye out for hostiles and deal with them quickly. Finally, you’ll pass beneath the remains of the Mass Pike Interchange, marking the halfway point of your long walk.
Discovered: Mass Pike Interchange
From the junction, head directly south until you reach the lake shore. Turn left, keeping the water close to your right, and continue forward, moving southeast toward the objective marker. Once you see the pool of glowing water on the right (aka the mass meltdown disposal site), head east and join the road a short distance away.
Discovered: Mass Fusion Takedown Site
Stay on the road and continue southeast, moving directly toward the objective marker. You will soon find yourself under the overpass again. Before continuing, open your Pip-Boy and equip yourself with your newly acquired hazmat suit. When you are properly dressed, leave the road and head south, following the causeway through the desert.
Before long, you will reach a part of the causeway that fell to the ground and find yourself on the outskirts of the Shining Sea. Almost immediately, you will hear the familiar click of your Geiger counter and see your radiation level begin to increase. Your hazmat suit won’t completely protect you from the radiation in the area, but you will take minimal damage.
When you are ready to continue, begin moving southwest toward the illuminated lights on the horizon. Soon the air will turn thick and yellow, and pools of highly radioactive mud will begin to form underfoot. Avoid the pools (and the feisty bugs that inhabit the area) and continue southwest, using the objective marker on your compass as a guide.
Eventually, as you approach your destination, you’ll encounter a stream of radioactive muck teeming with savage demons. Stay out of the creatures’ line of sight and quickly climb the hill behind them. Once you reach its summit, go down the other side and follow the marker until you reach the Atom Crater.
Discovered: Crater of the Atom
Continue south and you will soon see a small wooden structure on your right. Go up the catwalk and approach the woman inside. Ask him about the Holy Land and tell him you don’t want to hurt him. Once you are allowed to stay, approach her again and ask her about Virgil. If he is available, use the persuasion option and explain that you need information. You will discover that Virgil is to the southwest, living in a cave.
Return along the walkway and then at the end turn southwest and begin climbing the hill, weaving between the rocks towards the objective marker. Once you reach the top of the hill, go down the other side and continue forward; The environment makes it difficult to see where you are going, so keep a close eye on your objective marker.
Intermittently, you’ll stumble across large radioactive puddles that are home to some very nasty bugs. It’s best to keep your distance here and advance around the outside to avoid complicated confrontations. Finally, after another long walk, you will see Virgil’s Cave hidden among the rocks: head over and enter.
Discovered: Rocky Cave
Follow the narrow passage north and ignore the broken turrets ahead: they are in no condition to open fire. Once you see Virgil standing on the left side of the tunnel, head over to start a conversation.
First, tell him to take it easy and assure him that the story of Kellogg’s death is true. If available, select the persuasion option and ask Virgilio why he left the Institute. When he demands to know what you want, tell him you need information and explain about your child. Virgil will offer his help but he wants something in return. Ask him what and then agree to find the serum once you’ve infiltrated the Institute.
Next, reveal that you know the synths’ teleportation capabilities and confirm that you’ve seen an Institute Courser before. Ask him why you need to kill one and Virgil will explain that you need access to the synthesizer’s molecular relay chip to enter the Institute. Ask what you should do first and you will be directed to the CIT ruins. Once the conversation is over, your current quest will end and the new Hunter/Hunted quest will be added to your record.
– Keep reading for our guide to completing Fallout 4: Hunter/Hunter, the next mission in the game.
– Stuck somewhere else? Return to the index page to see the rest of our Fallout 4 guide.
Categories: Guides
Source: ptivs2.edu.vn