The Assassin’s Creed Valhalla settlement is something we haven’t seen in Ubisoft’s adventure series for some time: a place to call home.
Like Connor’s Homestead and Ezio’s Monteriggioni, this is a central location from which your Viking adventure is resolved.
From planning moves across the four kingdoms of England to using the loot of your many conquests to add new buildings, there’s always a reason to return to your settlement.
This page explains the basics of how the settlement works in Assassin’s Creed Valhalla, a progressing list of settlement buildings you can unlock, and how to obtain supplies and raw materials.
In this page:
If you’re looking for more things to collect, check out our lists of Treasure Hoard and Book of Knowledge maps and skill locations.
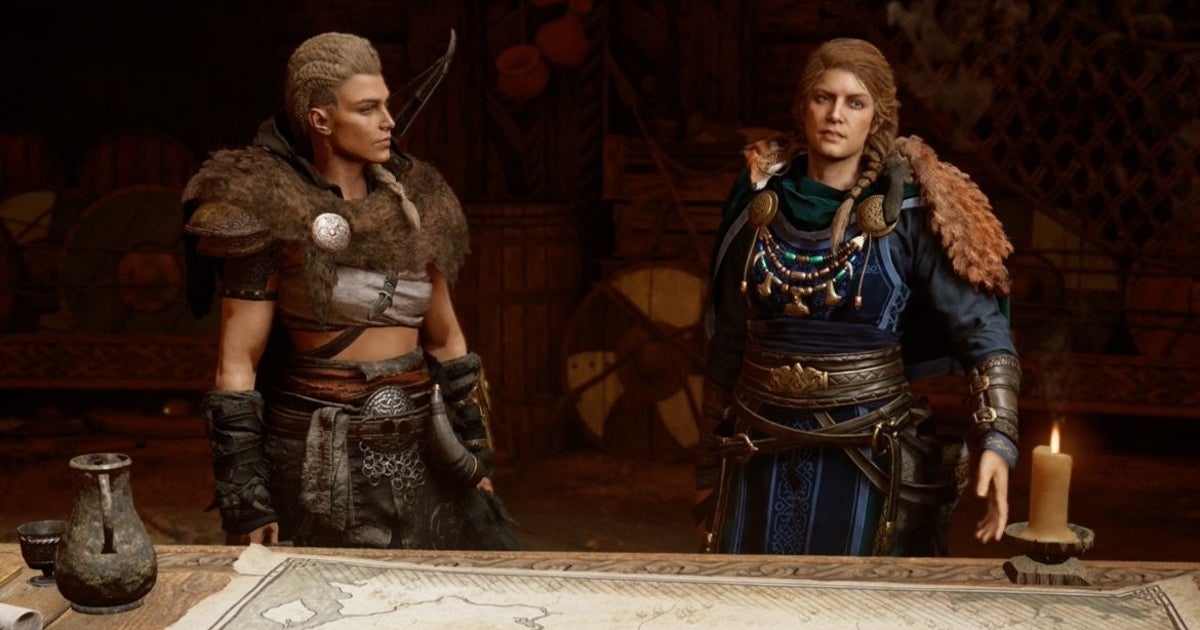
A tour of the settlement in Assassin’s Creed Valhalla.
How to improve your settlement in Assassin’s Creed Valhalla explained
As Ubisoft says, the settlement is the “beating heart” of your adventure: a place where not only your plans for the conquest of England take shape, but also where you build alliances and forge friendships and certain romances.

You will have to return frequently to the longhouse to make new decisions as part of the story. Unlike more recent Assassin’s Creed games, it is also the central location for many peripheral activities, such as customizing your character, changing mounts, and upgrading your weaponry with the blacksmith; basically everything you need in one place.
Taking the wolf’s saddle for a spin.
However, not everything will be available immediately. There are six stages of upgrades with the settlement, a process that will probably take the length of the main story to complete, depending on how many raids you do on the side, of course.

How to get supplies and raw materials in Assassin’s Creed Valhalla
Upgrading the settlement in Assassin’s Creed Valhalla requires two resources:
- Supplies: Found looting “wealth” throughout the land. If you see a shiny gold icon on your map, it’s likely a chest containing supplies.
- Raw Materials: Found specifically in raids on monasteries. Find the red shafts icon on the map, which are monasteries you can raid by boat.

If you need to upgrade your settlement quickly, it’s worth raiding two or three monasteries. Not only are they the main source of raw materials (the rarer of the two), but nearby wealth points in each location will also contain supplies. (Check your map to see exactly which buildings they are in.)
One important thing to keep in mind is to check the power level of each raid before traveling to each monastery location. You can find it by hovering over the region it is associated with. Although you can technically attack any location from the start, the higher the level, the more damage you will take with each attack, making some incredibly difficult to complete.

To start, we recommend staying at level 90 and below, which should be manageable at the beginning of the game.
The new DLC is here and we explain how to start The Siege of Paris, as well as new romance options and Treasure Hoard locations. If you’re looking for endgame activities in the full game, we can explain how to get the Nodens Bow, Excalibur, Thor’s Gear, and other Valhalla armor sets, power level and how to get XP quickly, Order of the Ancients locations, and all the Assassins. Creed Valhalla story options. If you’re looking for things to collect and upgrade, we’ve got lists of the best Book of Knowledge skills and locations.
List of Assassin’s Creed Valhalla settlement upgrades
The more buildings you unlock, the more buildings will be available to build. Here is a progressing list of the buildings available in the game and the settlement level you need to unlock them.

As time goes by, you will be able to add new buildings to the settlement. Here is a list of what will be available and how to unlock them:
Camp (Level 1)

- Barracks
- blacksmith
- Office of the Hidden
- Stable and Avery (unlocks changing mounts
- Trading Post
Colony (Level 2) – Unlocked after building three times in Level 1.

- Brewery
- fishing cabin
- Hunter’s Hut – Unlocked romantic option
- Museum
- Shipyard
- Tattoo shop
More coming soon!
Categories: Guides
Source: ptivs2.edu.vn