A Mystery Below is a main quest that’s good to prioritize while exploring Zelda: Tears of the Kingdom, as it unlocks the final ability to complete your wheel: Autobuild.
In the Zelda: Tears of the Kingdom quest, Josha asks Link to discover more about the mysterious Depths, following a trail of statues to a “temple” that turns out to be an ancient mine.
But the Depths can be dangerous without proper preparation, so this guide will explain what you need to know to complete A Mystery in the Depths and how to obtain the Self-Build ability.
In this page:
To view this content, please enable targeting cookies. Manage cookie settings
10 Things We Wish We Knew Before Starting The Legend of Zelda Tears of the Kingdom Watch on YouTube
If you want to learn more about Link’s adventure, visit our Zelda: Tears of the Kingdom walkthrough.
How to start the mission A mystery in the depths in Zelda Tears of the Kingdom
The A Mystery Deep quest line first requires you to complete one of the four parts of the Regional Phenomena main story quest in Zelda: Tears of the Kingdom. We finished the Rito Village questline, but it doesn’t seem to matter which one you progress on, just that you completely complete an area and remove its marker from the quest log.
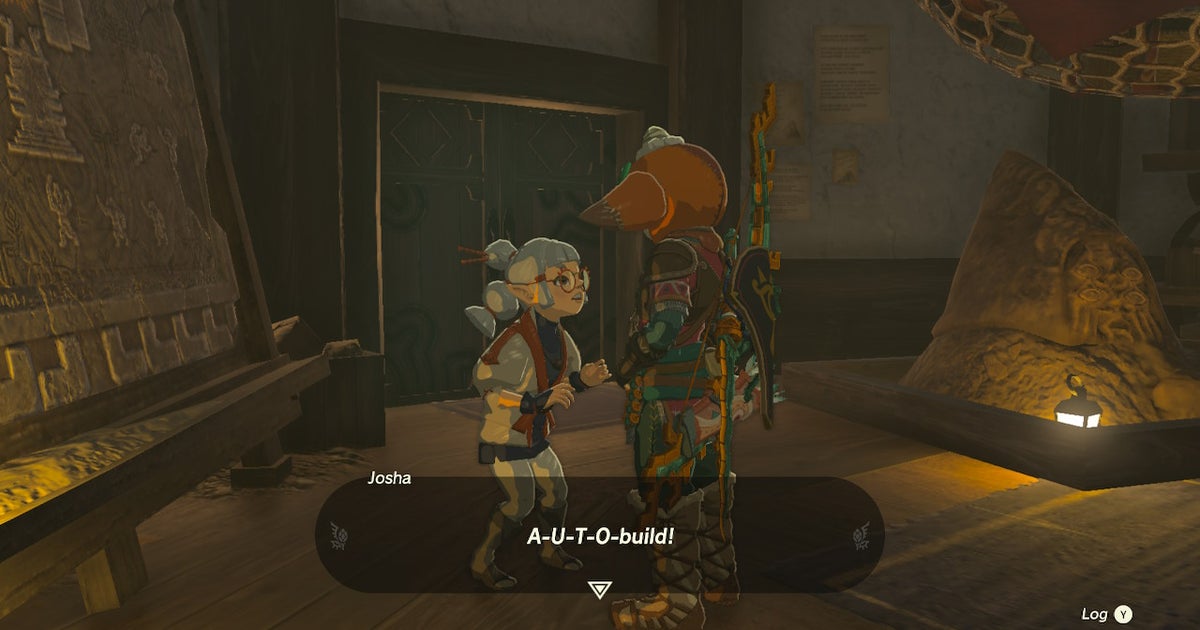
Once you are done with whatever you prefer, talk to Josha at Lookout Landing. She will tell you about the temple she believes is in the Depths, at the end of a row of statues that point to each other to show you the way. She will give you 10 Giant Glowing Flower Seeds and 10 Arrows to help you. However, we recommend taking more than this as there are many Depths to walk through and having these lights really helps.

Image Credit: Nintendo
How to get Autobuild in Zelda Tears of the Kingdom
To unlock the AutoBuild ability in Zelda: Tears of the Kingdom, you must first fast travel to Iayusus Lightroot to begin the journey. You will see that the statues are facing in a certain direction: follow them. Generally speaking, this is to the south, but it’s best to keep an eye out and not get lost in the dark. After some statues you will reach Nihcayam Lightroot. Activate it to get another fast travel point and illuminate the surrounding area. Then follow the statues, still moving south.
After three statues you will see an open space with a lot of red Gloom on the ground. If you look at the minimap, you will notice that you are on the edge of the part illuminated by Nihcayam Lightroot. Be careful when approaching here as there is a mini-boss named Frox: Scourge of the Depths on the right.

Image Credit: Nintendo
You can sneak around the other side of the Gloom area and continue south if you want. If you choose to fight Frox, beware of his suction attack which will swallow Link, and the rebound from him which will crush him. Try to stay behind and aim for his eye to stun him. When stunned, get on his back and hit the rock outcroppings to deal damage.
It will drop quite a bit of Zonaite and a large Crystallized Charge, as well as Frox Fangs and Nails when defeated.
Keep moving south, avoiding or defeating enemies along the way. There’s a pretty big space here with no statues, but keep going. You’ll pass an old ruin with a wing and some Zonai devices inside if you’re on the right path. There will also be small fires in the distance that you can use to orient yourself. As you get closer, keep using Brightbloom Seeds, as there is a rock ledge here that can be tricky to navigate.

Image Credit: Nintendo
Follow the ledge and fight a camp of Moblins and Bokoblins affected by Gloom. You can also pick up the two Grand Poes on the left. Then continue until you reach the Abandoned Great Central Mine.
Activate the build here to receive Autobuild. This ability allows you to instantly recreate things you have created using Ultrahand. It remembers your previous projects so you can repeat them quickly and you will also receive Schema Stones for common and useful projects.
For now, fix the car as per the instructions from the NPCs here by reattaching the wheel. Then use Autobuild to create the car on the other side.

Image Credit: Nintendo
How to defeat Master Kohga in Zelda Tears of the Kingdom
Now you will have to face a boss battle with a member of the Yiga clan, called Master Kohga in Zelda: Tears of the Kingdom. They will use their own car to try to run you over. Hit them with a bow to stun them and knock them out of their structure, then run up and attack with a sword. (You can also use Autobuild here to create your own car, but we didn’t find it particularly useful.)
In its second phase, the Yiga clan member’s car will have a barrier in the front, but you can still go through it. In the third phase, this will be replaced by a windshield and sides, so you will have to shoot from behind. But as long as you keep aiming arrows at them, there’s not much more to this fight.

Image Credit: Nintendo
How to complete A Mystery in the Deep in Zelda Tears of the Kingdom
Once you defeat the Yiga clan in Zelda: Tears of the Kingdom, open the chest to get a huge crystallized charge. Then talk to the buildings as directed. You will get your first Schema Stone. This will create a Fanplane.
You’ll also get the parts needed to try it out, so use it now and place it in the slot to head towards the nearby Lightroot. You can also pick up some poetry along the way, but be aware that if you do, you’ll fall down a small cliff from Lightroot, blocking it from view. You may need to use a Brightbloom seed or two to figure out how to get back on track.

Image Credit: Nintendo
Once you’ve activated Koradat Lightroot, you can explore further if you wish, but return to Josha when you’re ready. She will give you another Schema Stone. This will make a hot air balloon. When she finishes talking, she goes out and fixes the balloon there. She will give you a large area as a thank you.

Image Credit: Nintendo
That technically concludes the quest, but you’ll also automatically tell Josha about the Yiga clan, and in return, she’ll tell you about more statues, setting up your next quest to the Depths.
You will now also be able to talk to Robbie to begin the Hateno Village Research Laboratory quest, which will unlock several upgrades for Purah Pad, including the Travel Medallion, Shrine Sensor, and the Hero’s Path mode.
If you want to learn more about Link’s adventure, visit our Zelda: Tears of the Kingdom walkthrough.
To view this content, please enable targeting cookies. Manage cookie settings
Categories: Guides
Source: ptivs2.edu.vn