The Mayaumekis Shrine in Zelda: Tears of the Kingdom contains the most complicated Downward Force puzzle.
For this test, you must use the ship’s sails to bounce and glide to the end, but like most Shrines in Tears of the Kingdom, this can be trickier than it seems.
To speed things up, we will guide you through the Mayaumekis Shrine solution for the Deep Force shrine. And if you can’t find it, the location of the Mayaumekis Sanctuary too.
In this page:
To view this content, please enable targeting cookies. Manage cookie settings
Watch on YouTube
For more help, you can visit our Tears of the Kingdom walkthrough.
Zelda Tears of the Kingdom Mayaumekis Shrine Location
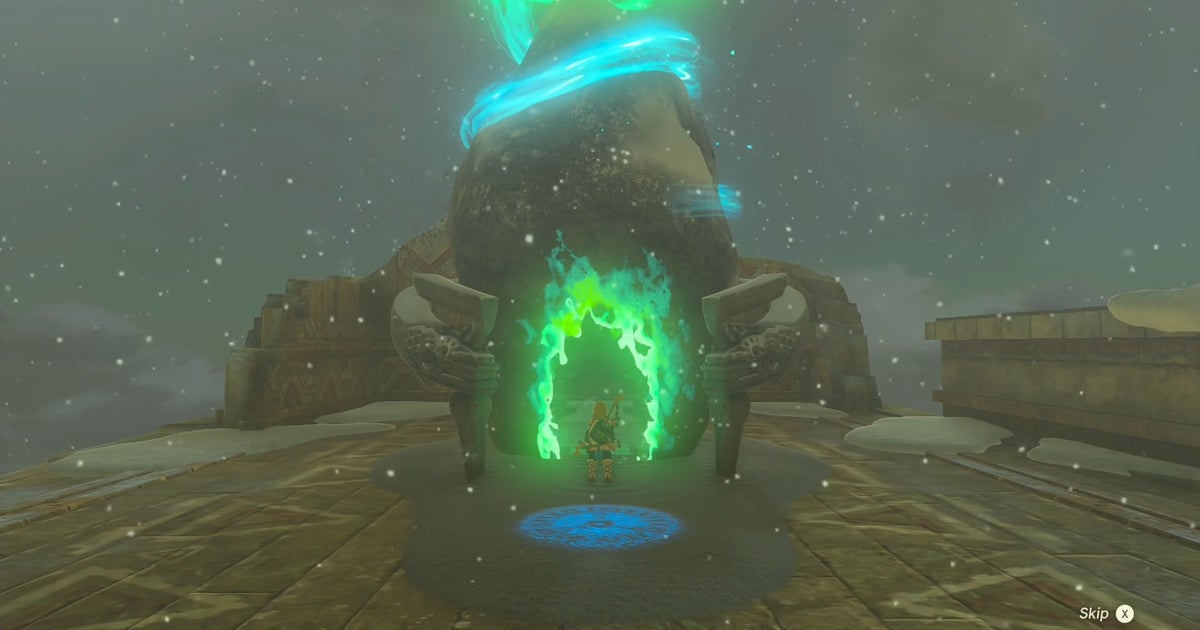
The Mayaumekis Shrine in Tears of the Kingdom is located high up in the sky on Hebra Mountain in the Rising Island Chain, which is northeast of Rito Village. Its precise coordinates are (-2949, 3048, 0896)
The easiest way to get to the Mayaumekis Shrine is by following the quest ‘Tulin of Rito Village’, which will take you further.

Image Credit: Nintendo
Here are images of the Mayaumekis Sanctuary map location from surface level and sky level:


Image Credit: Nintendo
Solution to the Mayaumekis Shrine puzzle in Zelda Tears of the Kingdom
The Downward Force puzzle in the Mayaumekis Shrine only has one camera to navigate. This makes for a shorter Shrine if you get the solution right away, but the name ‘Downward Force’ doesn’t actually indicate how to start and end the puzzle.
In short, to solve the Mayaumekis Shrine puzzle, you have to hit the little glowing yellow switches with your bow and arrow. To get to the last switch, you’ll also need to bounce and slide to the top.
The first step is to arrow press the small bright yellow switch behind the first closed door. It will glow green and open the door to the huge chamber in front of you. If you run out of arrows, you may also be able to hit the switch with a melee weapon.

Image Credit: Nintendo
The second step is to go up the stairs, kill the enemy, then jump and bounce off the sail of the nearby ship and glide to the next sail above you.

Image Credit: Nintendo
For the third step, you can bounce and glide towards the small moving ship in the distance, then bounce off it to reach the chest on the left side for 10 arrows.

Image Credit: Nintendo
Or you can skip the chest and use the floating ship to jump to the next three ships on the right.

Image Credit: Nintendo
You need arrows for this last part, so if you don’t have any or are running low, we suggest opening the chest first.
Finally, for the last step in the Mayaumekis Shrine solution, you need to jump and bounce from the lowest sail of the ship on the right and draw your bow to slow down time and press the bright yellow switch inside the bars above the three ships.

Image Credit: Nintendo
The door above the tallest sail of the ship will open and you can now jump from the tallest ship to enter this chamber.
Examine the green circle in this small room to obtain your Light of Blessing and complete the Mayaumekis Shrine.

Image credit: Nintendo To view this content, please enable targeting cookies. Manage cookie settings
Good luck completing all 152 TOTK Shrines, and if you need additional help, don’t forget to check out our list of Skyview Towers and Dragon Tear locations.
Categories: Guides
Source: ptivs2.edu.vn