The Jiukoum Shrine in Zelda: Tears of the Kingdom will test your wits, as you’ll be given some tiles and a pair of fans to cross several rails that connect areas within the Shrine.
As with many other Shrines in Zelda: Tears of the Kingdom, there are probably several ways to build the items and gadgets needed to solve this Shrine, however, this is the way we solved it. With the Jiukoum Shrine, the most important thing to know is that you will build some gadgets using Ultrahand.
Without further ado, we will show you how to complete the Jiukoum Shrine in Zelda: Tears of the Kingdom.
In this page:
To view this content, please enable targeting cookies. Manage cookie settings
10 Things We Wish We Knew Before Starting The Legend of Zelda Tears of the Kingdom Watch on YouTube
If you want to learn more about Link’s adventure, visit our Zelda: Tears of the Kingdom walkthrough.
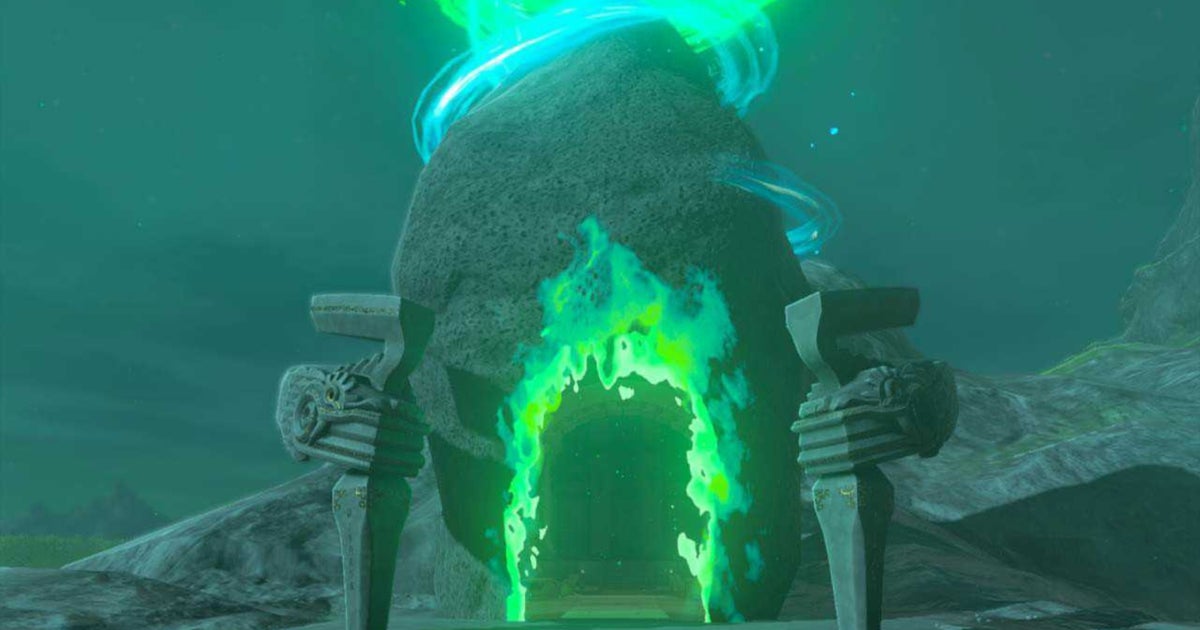
Jiukoum Shrine location in Zelda Tears of the Kingdom
The Jiukoum Shrine in Zelda: Tears of the Kingdom can be found in the Faron Grasslands, south of the Popla Foothills and southeast of the Popla Hills Skyview Tower in Faron. We have marked its exact location on the map below and the coordinates of Jiukoum Shrine are (0867, -2279, 0141).

Jiukoum Shrine puzzle solution in Zelda Tears of the Kingdom
To solve the Jiukoum Shrine in Zelda: Tears of the Kingdom, you must build several platforms with slabs to ride the rails to the end of the Shrine.
When you first enter the Shrine, you’ll see a large set of rails in the middle of the room and some loose tiles next to it.

Use Ultrahand to connect two tiles to form a long rectangle. Then, balance the rectangle so that it rests on both rails in the middle of the room.

Once you place the slab on the rails, it will begin to move. Jump onto the slab and ride the rails to the other side. Be careful though, if the slab is not balanced correctly on the rails, it will fall once it starts moving and may throw you into the abyss below.

When you are in the next area, look to your right. You’ll see more rails and loose slabs here. You should also see that there is already a large rectangular slab on the rails. Before doing anything else, quickly run to the rails and remove the rectangular slab with Ultrahand. Then, drop the slab with the rest of the loose ones in this area.
Once you’ve done this, walk over to the pile of loose tiles and you should see an opening in the nearby wall. In this opening there will be a small set of rails and a slightly raised area with a chest on top of it.

There are probably several ways to get this chest, but this is the way we did it. Use Ultrahand to balance the long rectangular slab on the rails so that it is parallel to the rails themselves. Next, take one of the loose slabs and attach it to the end of the rectangular one on the rails to make a ramp leading to the chest.

Go up the ramp to reach the chest. This chest contains a double bar Sticky Elixir. Once you’ve collected the chest, head back to the pile of loose tiles again.
Disassemble the ramp and place the long rectangular slab on the ground. Next, place two square tiles upright so they look like the image below:

Next, take your creation and place it on the rails in the middle of the room so that the square slabs are hugging either side of the rails here.
Once you’ve done this, quickly jump on your creation to head down the rails to the next area. Don’t be discouraged if this doesn’t work the first time you do it, it may take a few tries to get the spacing between the square platforms correct.

When you are in the next area, you should see some rails above you and a series of steps leading up to a raised part of this area. Head here and you should see more loose tiles and some Zonai fans. Here, you’ll need to build a contraption that you can cross to the end of the Sanctuary, but the rail formation changes halfway through to a set of rails in the middle, while the beginning of the rails is a set of doubles. rails.

Again, there are probably several ways to solve this area, but this is how we did it.
Take the long rectangular floor slab and make sure it’s somewhere you can easily add things to it. Then place a stone slab at each end of the short sides of the long platform so they are upright. You’ll also want to add one directly in the middle of the long slab.

Then, turn the contraption over so that it is standing upright with the top of the long slab facing up and the square slabs acting as legs. Once it’s like this, place three Zonai Fans along the long edge of the top of the long slab so they can propel it forward.

Now, once you’re ready, take your contraption to the set of double rails in the middle of the room and place the contraption down so that two of the “legs” of the square slab are wedged between the rails.

When you’re happy with it, hop on your contraption, activate the fans, and ride the rails to the end of the Sanctuary to collect your Light of Blessing.
Congratulations on completing the Jiukoum Shrine! If you need more help on your Hyrule adventure, check out our Shrine locations guide or our Skyview Tower locations guide to get your bearings. You can also find out how to get the giant white stallion if you want a new horse.
To view this content, please enable targeting cookies. Manage cookie settings
Categories: Guides
Source: ptivs2.edu.vn