Now you can customize furniture at Disney Dreamlight Valley! That’s right, it’s time to take those skills you’ve honed in custom clothing and apply them to furniture that can be the centerpiece of your home, valley, or beachside retreat.
Making the valley your own in Disney Dreamlight Valley is part of the game’s many charms, and being able to make your own unique furniture to celebrate your favorite characters, or simply to match your personal style, is a huge plus.
Without further ado, we’ll show you how to customize furniture in Disney Dreamlight Valley.
In this page:
Disney Dreamlight Valley: Remembering update trailer.
How to Customize Furniture in Disney Dreamlight Valley
To customize furniture in Disney Dreamlight Valley, you must open your inventory menu and then select the “Furniture” option.
Once you’re here, select the ‘Customize’ option. This will open a second menu that shows you all the current furniture that you can customize; it is very similar to the custom clothing menu.
At the time of writing, you can only customize these pieces of furniture and the following parts of them:
| furniture article | Custom parts |
|---|---|
| Basic Wardrobe | Entire closet
|
| Basic Chair | Entire chair but only cushion motifs.
|
| Basic Large Table | Entire table but only board motifs.
|
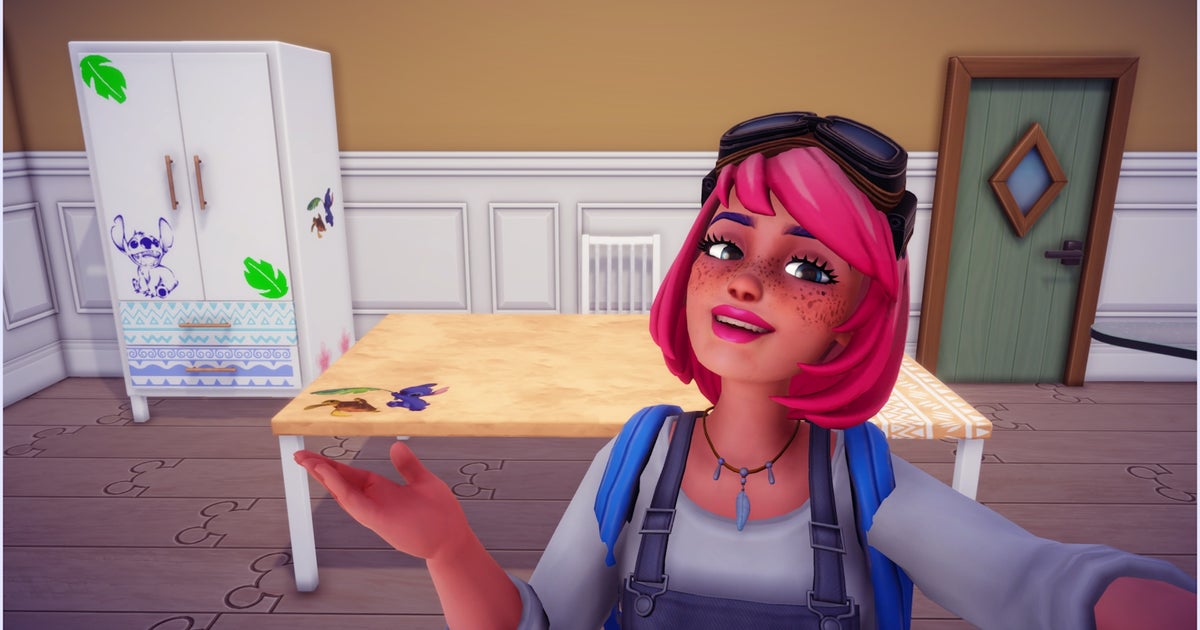
For our main example, we have chosen to make a wardrobe.
Select the furniture you want to customize and a new screen will appear. This is where you can access all the customization options for the chosen piece.
On the left side of the screen you will see a bar with two white squares at the bottom and a ‘+’ in a square at the top. First we will go over the bottom squares.
Bottom white square
The bottom white square in this menu will allow you to customize the material of the cabinet handles. Selecting this square will bring up another smaller menu on the left of the screen.
Click on the large square here to open a menu full of different materials. You can select any of the materials for your cabinet handles here.

The smaller square above the large material square is your color customizer. Select this to bring up a palette of different colors that you can apply to the material you have chosen. Some material patterns will have two color customization options, such as striped material.

At the bottom of this side menu, you should see an option that says “Metal.” You can turn it on and off to give your material a shiny metallic effect.

If you choose to have ‘Metal’ turned on, you can use the slider menu above to adjust the brightness intensity of your material. When you are happy with this, you can press Back to return to the main customization menu.
Top white square
The top white square will allow you to customize the rest of the wardrobe, and the options here are exactly the same as for the bottom white square.
Square ‘+’ much higher
Now, the top square with the ‘+’ is where you go to add your patterned stickers to your wardrobe design. You can add up to 50 layers of different motif stickers to your design, which is enough to create a truly unique piece of furniture.
When you select this option, you will get a smaller menu that shows you all of your motif options and these are the same motifs that you have unlocked for your custom clothing. Patterned stickers that have a small brush icon next to them can be recolored once you apply them to your design.

When you are ready, choose the motif you want and it will appear on your closet/furniture. This is where the new customization options start to appear.
The two arrows going in opposite directions can be used to enlarge or reduce the size of the motif sticker.

The arrows in a circle can be used to rotate your motif.

If you have it for that pattern, the brush icon can be used to change the color of your pattern.

Finally, the cube will display another separate customization menu.

At the top of the screen, you should see six different option boxes. This is what everyone does.
The first option reverses the motif in the opposite direction.

The second option reflects your motif in its design.

The third option removes your pattern from the design for now, but it will still be waiting for you in your side menu.
The fourth option will extend the motif for the piece of furniture with a pattern similar to polka dots.

The fifth option will allow you to tilt the subject in more detail.

The sixth and final option in this menu will increase the size of your pattern to fit it into a panel or piece of your design.
Ugh, that was a lot, but stick with us, we’re almost there.
To move your chosen motif around your design, you can use its motion control. Remember, with some pieces like the Wardrobe you can move the motif around the entire piece of furniture.

When you’re happy with the placement of your pattern, you can press the action button to paste it.
How to remove a furniture motif
Are you not happy with something you have done? You can select your pattern from the layers menu on the left side of the screen and use the requested command to delete it.
Be careful with this, once you delete a pattern you will need to resize it and customize it from scratch if you decide to add it again.
How to Place Custom Furniture at Disney Dreamlight Valley
To place custom furniture in Disney Dreamlight Valley, go to the custom furniture menu as if you were creating a new piece.
Parts you have already created or are in progress will appear here in your inventory. Select the piece you want to leave and place it as you would any other piece of furniture.

Uh… is it obvious what my favorite Disney movie is?
Now that you have custom furniture, you should check out our guide on how to place multiplayer houses in Disney Dreamlight Valley to find more places to fill with your epic creations.
To view this content, please enable targeting cookies. Manage cookie settings
Categories: Guides
Source: ptivs2.edu.vn