Mythril Golem is an enemy that has appeared in previous Final Fantasy games, but it’s a new boss you’ll fight in Final Fantasy 7 Rebirth in the aptly named Mythril Mine. In the original game, this was a fairly short dungeon with no bosses, but he is actually the second boss in this area and is more challenging since you only have two party members.
This follows a battle with the Turks, which then finds Barrett and Red XIII separated from the group. You will encounter the Mythril Golem towards the end of Chapter 3 of Final Fantasy 7 Rebirth as you find a way to regroup with the others and leave the mine.
This guide will provide you with all the information you need to take on the Mythril Golem so you can continue your search for Sephiroth.
In this page:
To view this content, please enable targeting cookies. Manage cookie settings
How to prepare for Mythril Golem in Final Fantasy 7 Rebirth
Mythril Golem is weak to lightning but very resistant to physical attacks. While that means you’ll want to equip Barrett and Red XIII with Lightning Materia, they’re not very strong magic users, so it’s not something you can necessarily rely on. Don’t worry though, your physical attacks can still be effective, as we’ll see in more detail later.

Image credit: Eurogamer/Square Enix.
First of all, since this chapter is recommended for a level 19 group, you don’t want to get leveled up. That said, at this point in the story, you are trapped deep in the mine and separated from the group, so you have no choice but to continue or restart the entire chapter. Luckily, you’ll also find a rest bench and vending machines so you can be prepared before the fight. This is also a perfect time to remind you that if you haven’t bought new equipment or spent SP to learn new skills in your party folios, now would be the time to do so.
Because Mythril Golem hits hard, you want your defense to be as good as possible. You can purchase the Hunter’s Bangle and also a bulletproof vest for both Barrett and Red XIII if you haven’t already. In terms of abilities, you should be able to unlock United Refocus for Barrett, which works with Red XIII to temporarily split the ATB gauge into three bars instead of two. A vital synergy skill to learn is Iron Defense, which allows you and your partner to create a temporary shield to reduce damage taken. If you have SP to spare, you can also unlock Electric Impulse, which allows Barrett to use a lightning-based attack that doesn’t spend MP.

Image credit: Eurogamer/Square Enix.
If you want to exploit the boss’s weakness to lightning, equip one of your party members with Ramuh Summoning Materia, an additional materia that you can unlock if you have saved data for Final Fantasy 7 Rebirth Intermission: Yuffie Episode.
And don’t forget, if this gets too difficult, there’s also the option to change the difficulty!
How to defeat Mythril Golem in Final Fantasy 7 Rebirth
As Barrett is the leader of the group and the tankier of the two, it’s best to stick with him for this fight, although you’ll also want to switch to Red XIII when the opportunity arises to boost his ATB for some attacks, which in turn stacks synergy points that will be useful for this fight.

Image credit: Eurogamer/Square Enix.
Mythril Golem has hard-hitting attacks including Crush, a self-explanatory AOE attack, Sweep, where it swings its arm to hit anything in front of its very wide arc, while Stalagmite Skewer sends a trail of sharp rocks from the ground towards you. He is also designed to resist physical attacks, which makes the fight seem quite one-sided.
Fortunately, he has an obvious weak point: his head. When the fight starts, use Barrett’s Overload immediately to quickly increase your ATB so you can use Steelskin to boost your defense. Use your gun arm and lock onto Mythril Golem’s head and shoot. While you’ll only lower their HP, this is great for quickly charging your ATB, especially if you hold the button to get a small boost at the end.
Once its head is fractured, the Mythril Golem will be in a pressure state, giving it a brief window to deal more damage and increase its stagger gauge. If you’ve managed to charge up two ATB bars at this point, this is the opportune time to use Maximum Fury. However, keep in mind that even if you are pressured, he will still attack you aggressively with Thrash, slamming his fist into the ground multiple times. If he gets close and you find yourself cornered, this is where Iron Defense will help mitigate the damage, but make sure you time it right. In any case, it is a more generous window than attempting a perfect guard.

Image credit: Eurogamer/Square Enix.
When his head recovers, he will charge up an even more powerful attack called Mythril Mallet. If you get hit by this, both party members will take a lot of damage. If you haven’t used Red XIII much, then his spare ATB will be important for healing you. It will also increase its Revenge Mode bar, which you can activate with Triangle to increase its speed and attack, while you can also tap Triangle again to divert some of the boss’s HP.
The trick is to make sure you’re making use of both party members’ abilities so you have synergy gauges to use. If you find that you are using too much ATB when you have to heal, using Reunited Focus will be valuable in granting you three bars of ATB for a short time.
But when Mythril Golem isn’t pressured, make sure to continue attacking the head with Barrett’s standard weapon attacks to build up ATB and then when it’s fractured and pressured, unload with lightning-based attacks or Ultimate Fury and then switch to Red to use your Attack Skills like Sidewinder, increasing your synergy.
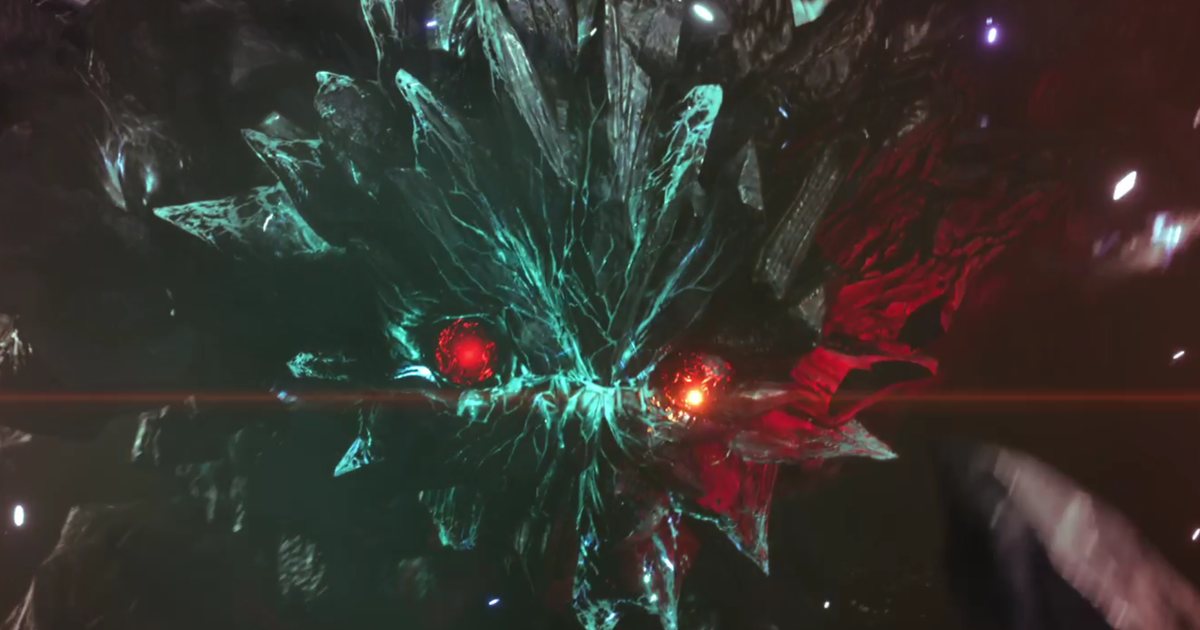
When you have taken a third of Mythril Golem’s HP, it will use the nearby rocks to become even larger and tougher with two new body parts, a large and very sharp right arm and its spine made up of pointed stalagmite crystals.

Image credit: Eurogamer/Square Enix.
One of his new attacks to look out for is Crystal Shockwave, which takes a few seconds to charge but sends out a huge AOE shockwave, so try to move away from him when this comes up. He also has Laser Barrage that shoots mithril spikes from his spine that target you, while his right arm can charge you with Drill Arm. Then there is the neodymium laser, which loads a laser beam and fires directly. And if you were thinking about keeping your distance, he can also perform Leaping Strike, jumping into the air and landing directly on you. For all physical attacks, use Iron Defense and try to dodge the laser-based attacks, or hope you have a spare ATB to heal yourself. And if an attack sends you flying, switch to Red so he can do some attacks.
The way to press it is to keep aiming at its head, although it is a little more difficult to lock it with the other parts of the body. However, the right arm can also be crippled to prevent him from using Drill Arm. The spine, however, is more resistant to damage, so save it for last. At this point, if you’ve been keeping up the pressure, you can stagger Mythril Golem and then focus on the column while it’s down. In fact, once the spine has been crippled, it will be pressed again and you can quickly stagger it again.
When he has about a tenth of his HP left, he will try to return and reform with Repair. However, there is a quick way to finish this fight if you have Ramuh equipped. You may have taken enough damage at this point for the summon gauge to activate, so as soon as it fills up, go ahead and summon Ramuh for some strong lightning attacks. As Barrett, play it safe and keep your distance from the Mythril Golem until you’ve charged up two ATB bars so you can use Ramuh’s Circuitous Bolt, which will hopefully be enough to finish him off.
Mythril Golem Reward in Final Fantasy 7 Rebirth
Defeating Mythril Golem gains 50 Party EXP, 563 EXP, 10 AP, and 750 Gil. More importantly, when he collapses, he creates a handy ladder out of the caverns that allows Barrett and Red XIII to reunite with Cloud, Aerith, and Tifa.

Image credit: Eurogamer/Square Enix.
Once they are back together, Cloud will take over as leader of the group again and Chapter 3 will come to an end when you have finally exited the Mythril Mine. The Junon region awaits even more to explore as he continues his pursuit of the black-robed men and Sephiroth!
Categories: Guides
Source: ptivs2.edu.vn