Not sure where to display the skull? This is where to show the skull to the statues and solve The Emerald Skull quest in Far Cry 6.
The Emerald Skull from Far Cry 6 is one of the game’s treasure hunts.
This tasks you with exploring not one, but two extensive caves in the hopes of finding a cursed skull. Then, you must show it to various statues to open passages that will lead you to the treasure.
This page explains where to show the skull of the statues in Far Cry 6 to complete The Emerald Skull without problems.
In this page:
Check out 27 secrets and Easter eggs from Far Cry 6
Far Cry 6 The location of the Emerald Skull
Treasure hunts in Far Cry 6 are optional activities that often involve solving environmental puzzles and putting your grappling hook to good use with some stunts inside caves or military bases. At the end of each, you will receive unique rewards, from unique weapons to weapon charms.
Here’s where you can start your Emerald Skull treasure hunt:
- Location of the Emerald Skull: Concepción, Conuco, northwest of the El Agujero hideout.


Now, let’s move on to the steps to complete the mission.
Looking for more help? If you’re just starting out, we have pages on Dani Rojas, male or female, how to complete Fuel the Revolution, how to destroy anti-aircraft weapons, and where to go first on the map. Elsewhere, we explain where to find Triada relic locations, Parting Gifts, The Long Drop, Cache Money, Rising Tide, High Supply, And the Beat Goes On, The Last One to Leave, Liquid Courage, The Missing Muse, The Emerald Skull. The Truest Yaran, Chorizo Location, Far Cry 6 Best Weapons, and GDP Oil Platform. Finally, we explain the secret ending of Far Cry 6.
How to complete The Emerald Skull and where to show the skull to the statues explained
This begins by grabbing a note found on a table on a balcony south of Corazón Alley. From there we go to the icon marked on the map, which is located west of Concepción.


Once you arrive, you will come across quite a spectacle. We will enter inside the face-shaped head, but first be careful with a jaguar that will emerge from inside and attack you.


As you progress through the cave, you will find a small chest with the Bullshark amulet inside, on top of a bench next to a skull.

Keep moving until you find a rope; head towards the gap and instead of jumping to the other side, look up and throw your hook. Turn to the other end to continue.


There, use the grapple point near the edge to descend into the water. Swim to the lit area at the far end, jump and look up to find another grapple point. Climb to the top and Dani will climb to a new area.


On the altar with the two skulls and the candles you will find a note detailing the next steps. Unfortunately, the skull is in another cave. You can get out of this by taking the path to the left of the altar. Once you’re down, there’s a surprise: a dead guard is holding a glowing skull. Pick it up and prepare for a sudden explosion.
As soon as you pick up the Unlucky Skull, a grenade will appear out of nowhere and explode. In our experience, this did not kill us, but simply left us in a critical state of health, with Dani yelling “who does that?!” after the sequence. Now, she simply exits through the gap and starts moving towards the next cave.


If you don’t mind making a few hoops here and there, you can simply follow the flow of water as it will take you directly to the next location. As soon as you see the long bridge leading to the cave, go around it and take it to head to the other end. There is no jaguar this time, but a crocodile lunged at us on the bridge, so move carefully.


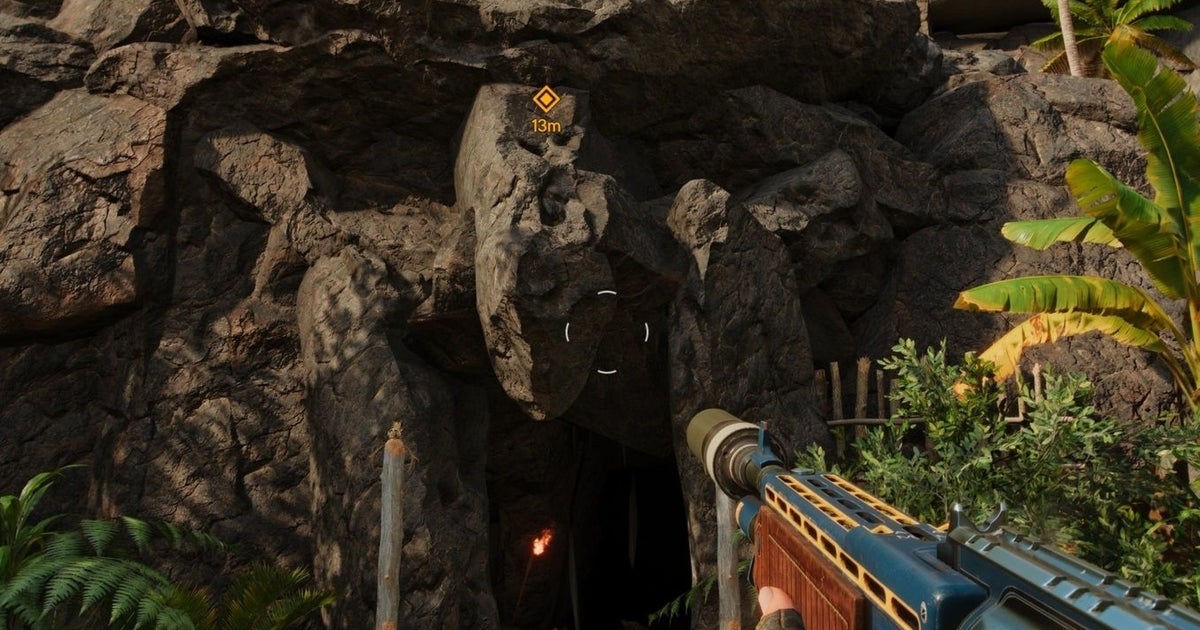
Once inside the cave, watch out for another crocodile. Keep moving forward and you will notice a totem and a wall with a strange marking. Approach the totem and press the message to reveal the skull. This will open the cave door, which is huge.


Luckily, sailing is not as difficult as it seems. We will start by taking the stairs on the right. Climb up to the waterfall and use the grapple point to reach the other end. Halfway down the road a rock will fall from the ceiling and you will most likely lose momentum. In any case, just go down and repeat the path.


Then, activate the statue there by showing it the skull. The cave will change things up and another statue will appear right on the opposite side of where you are standing. Activating this will open a door at the end of the stairs we took at the beginning.


All that’s left for you is to go through this room. Once you get close to the exit (you’ll notice this because there will be an idol on top of a table on the left side), watch out for the red threads. These are explosives that will go off on contact, so shoot them or just throw a grenade.
The last explosion will break the blockage, so now you can leave and reach the chest.


Your reward is the Ida’s War Dance amulet. That’s all for this scavenger hunt!
Categories: Guides
Source: ptivs2.edu.vn